A Rugged Adventure Bikepacking in the Chilcotin Mountains
Call it mountain bike amnesia, but I'm already forgetting the hard work necessary to bikepack in the Chilcotin Mountains. Sweaty hike-a-bikes up mountain passes drift away, replaced by stunning vistas and brake-melting descents, a goofy grin plastered across my face.
Our simple trip goals: pedal bikes laden with six days of food into the backcountry of British Columbia. Keep the plan flexible. Make decisions knowing that help won’t arrive for a looong time if we mess up.
And, lastly, the most difficult and important goal: Don’t eat all the good snacks on day one.
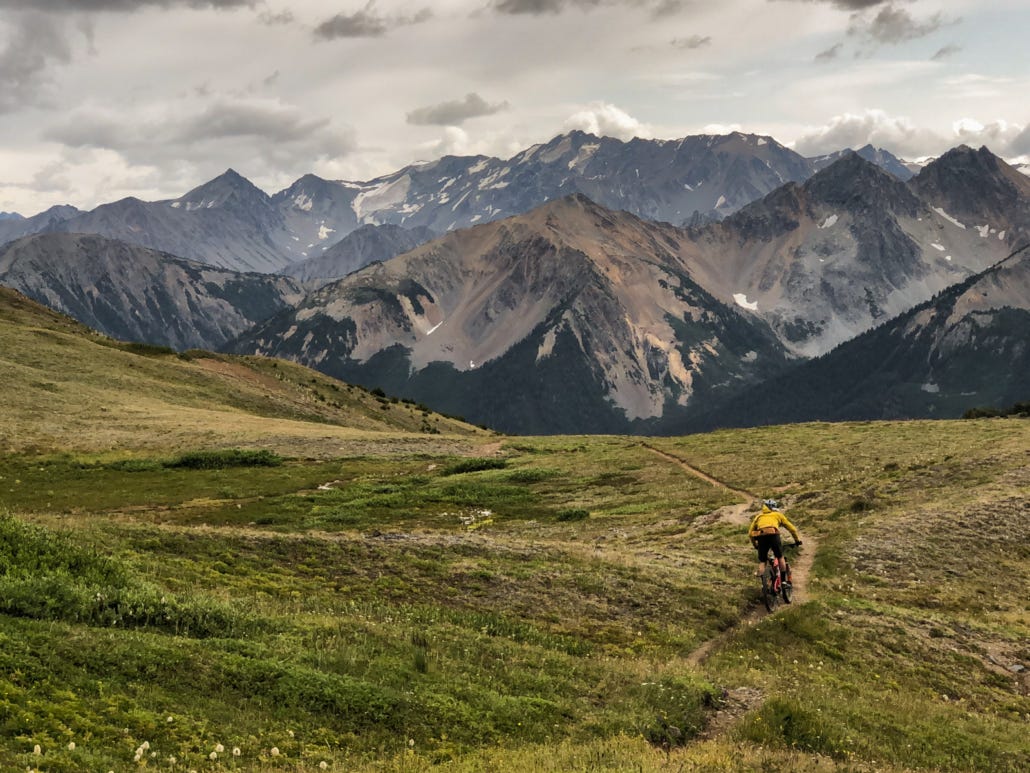
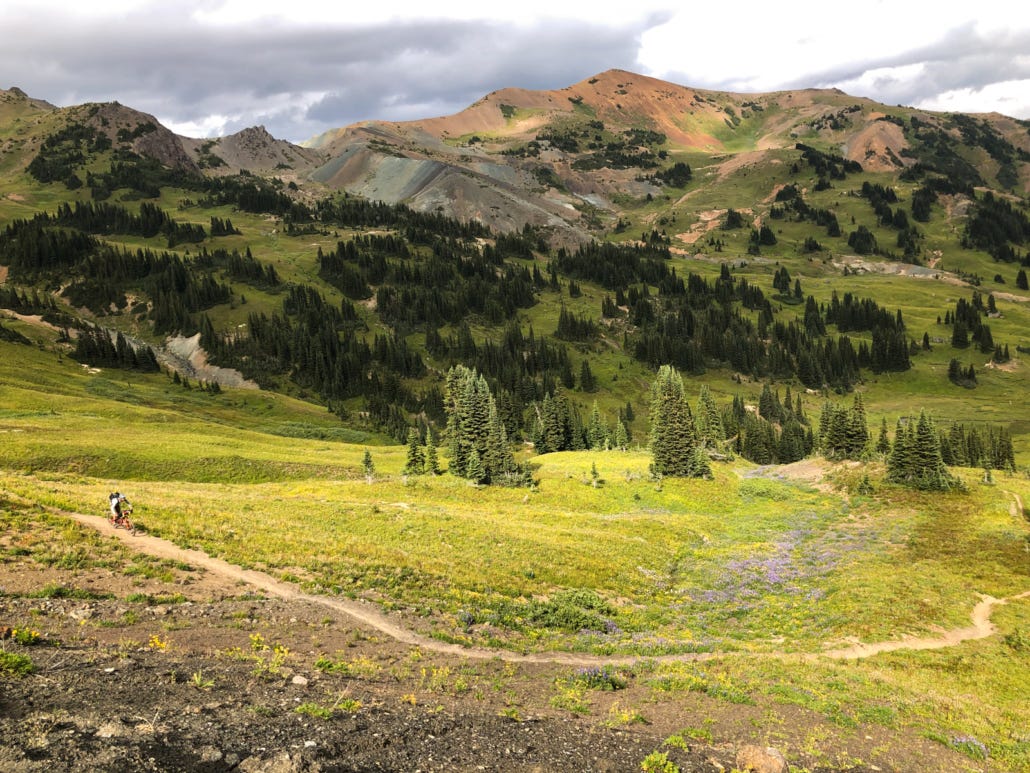
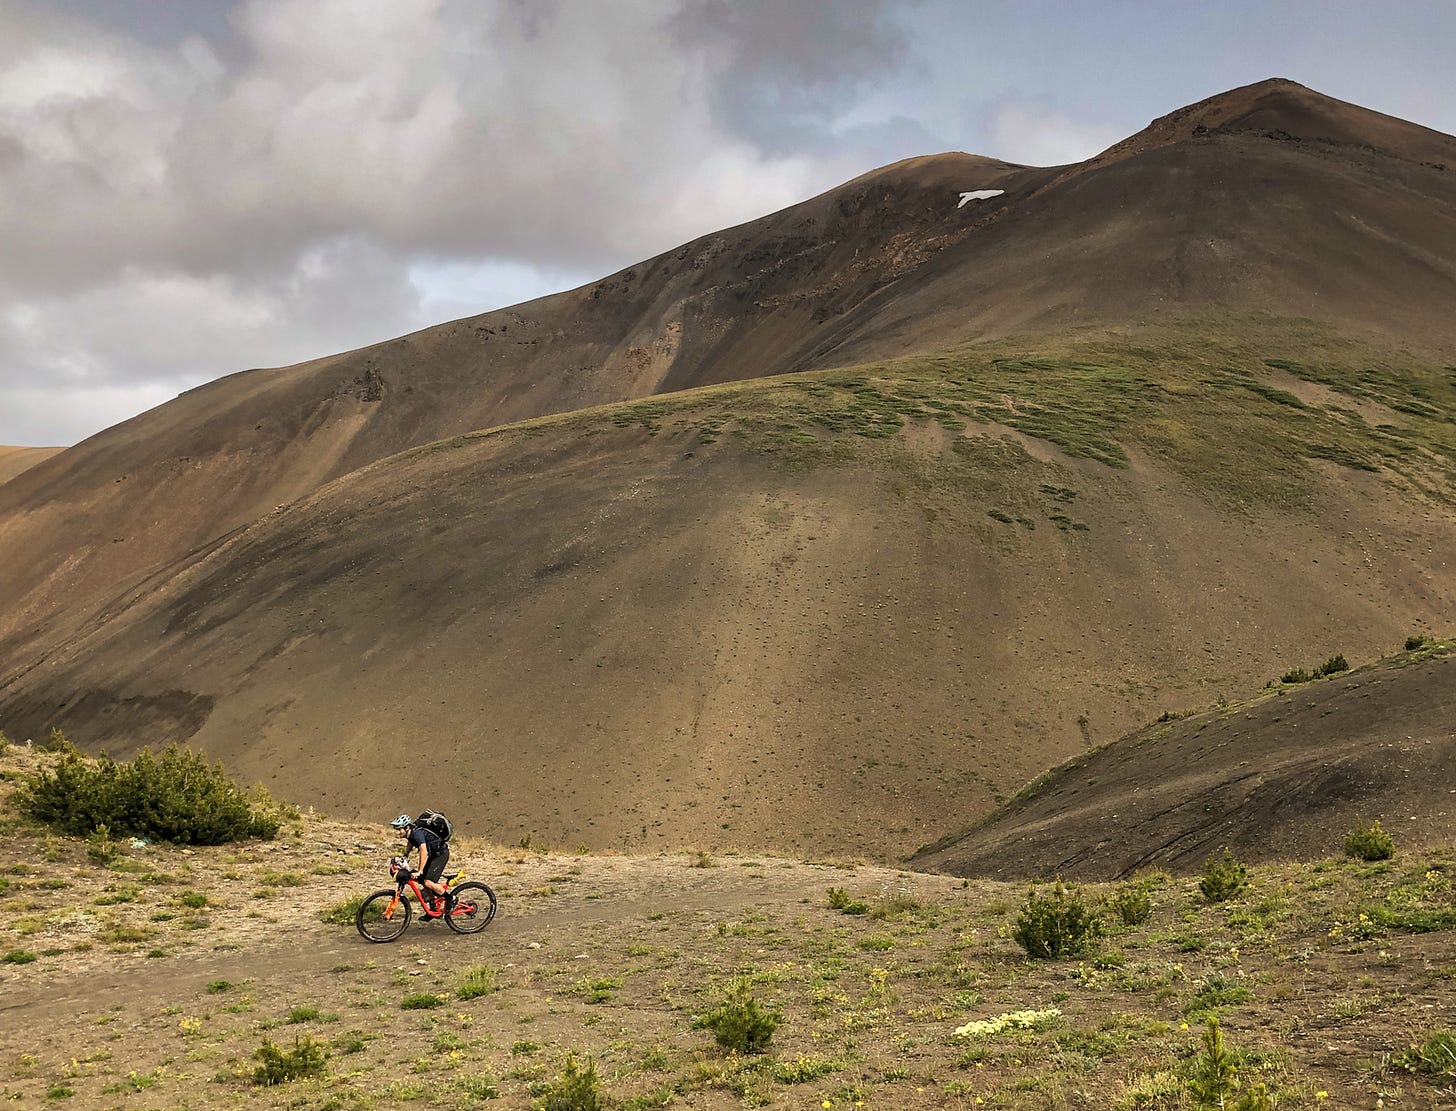
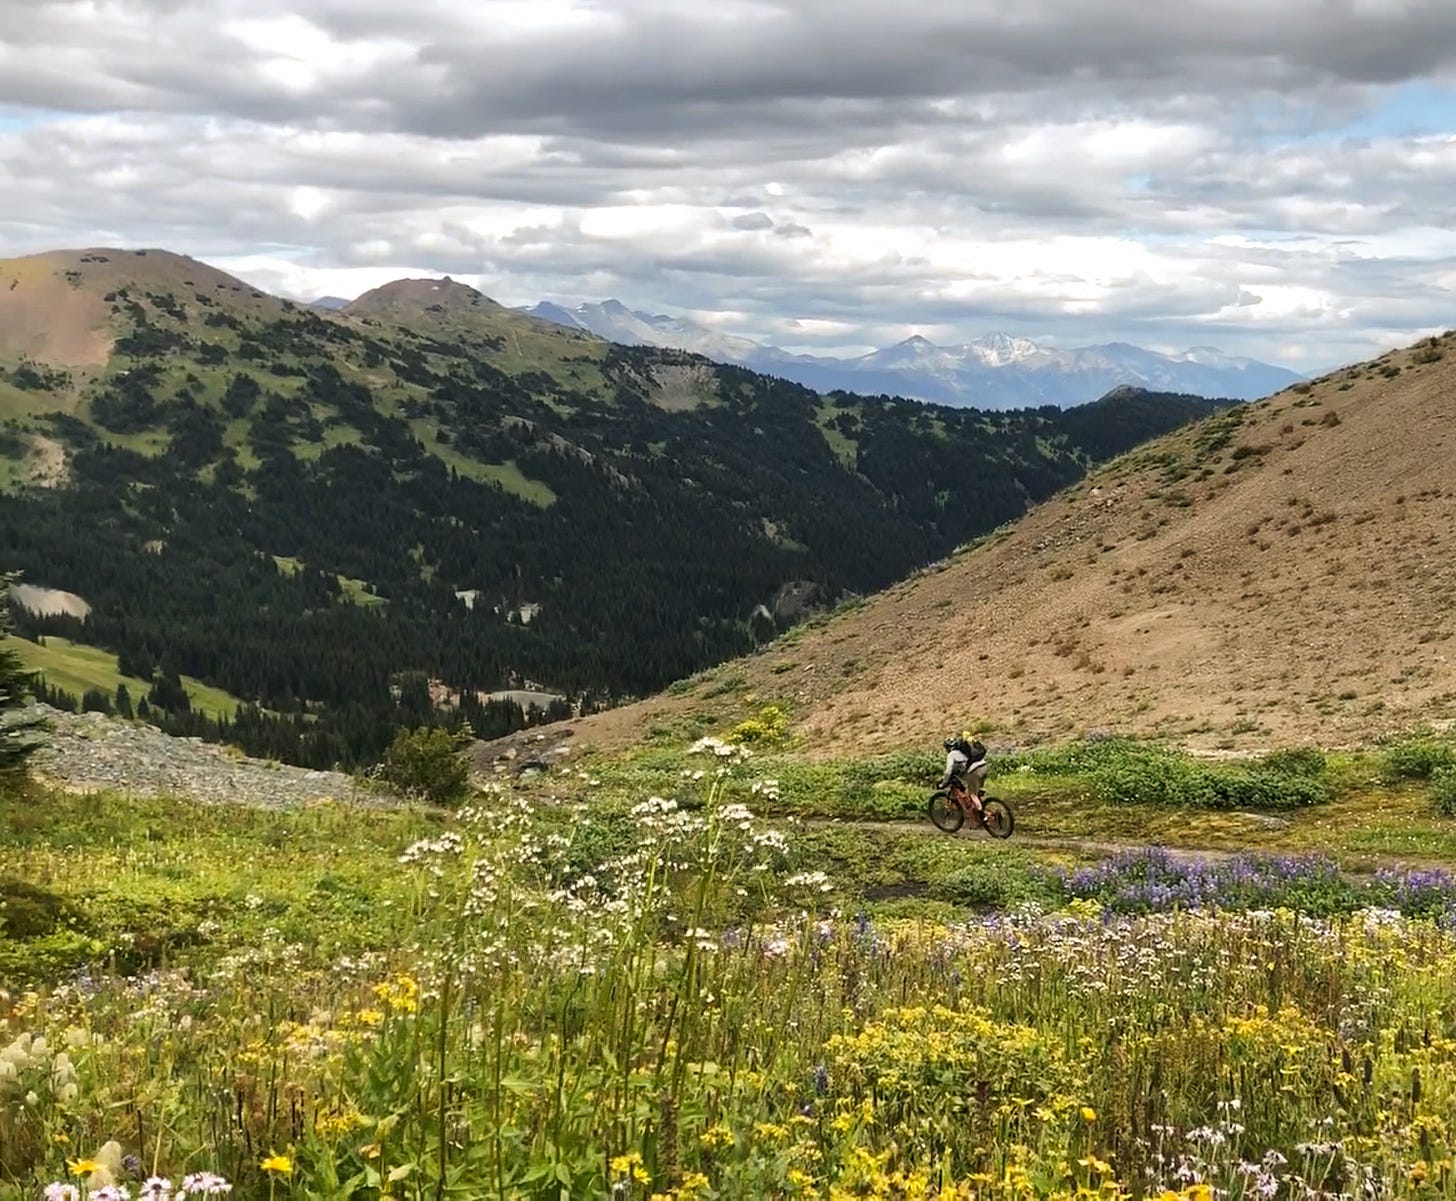
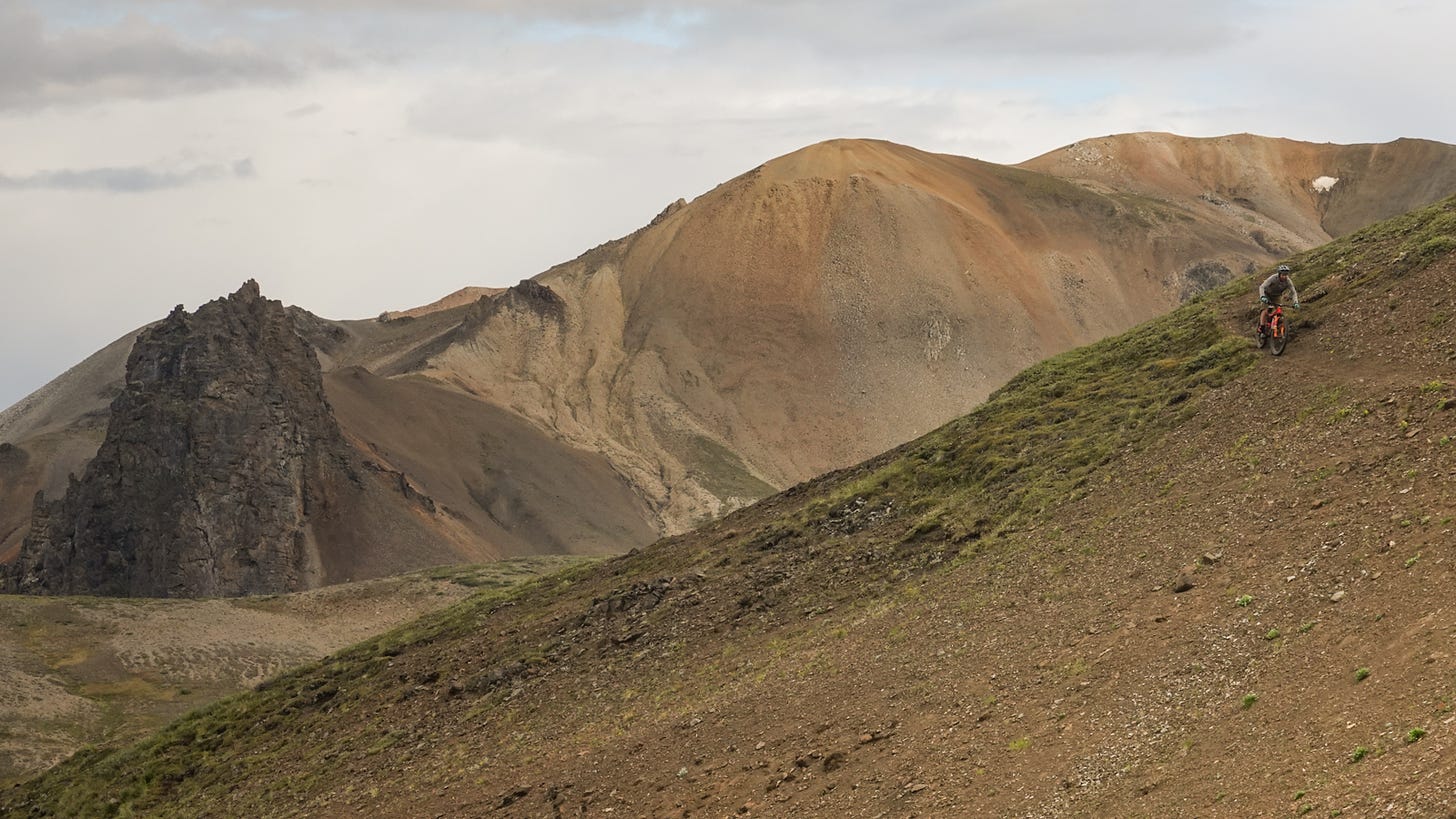
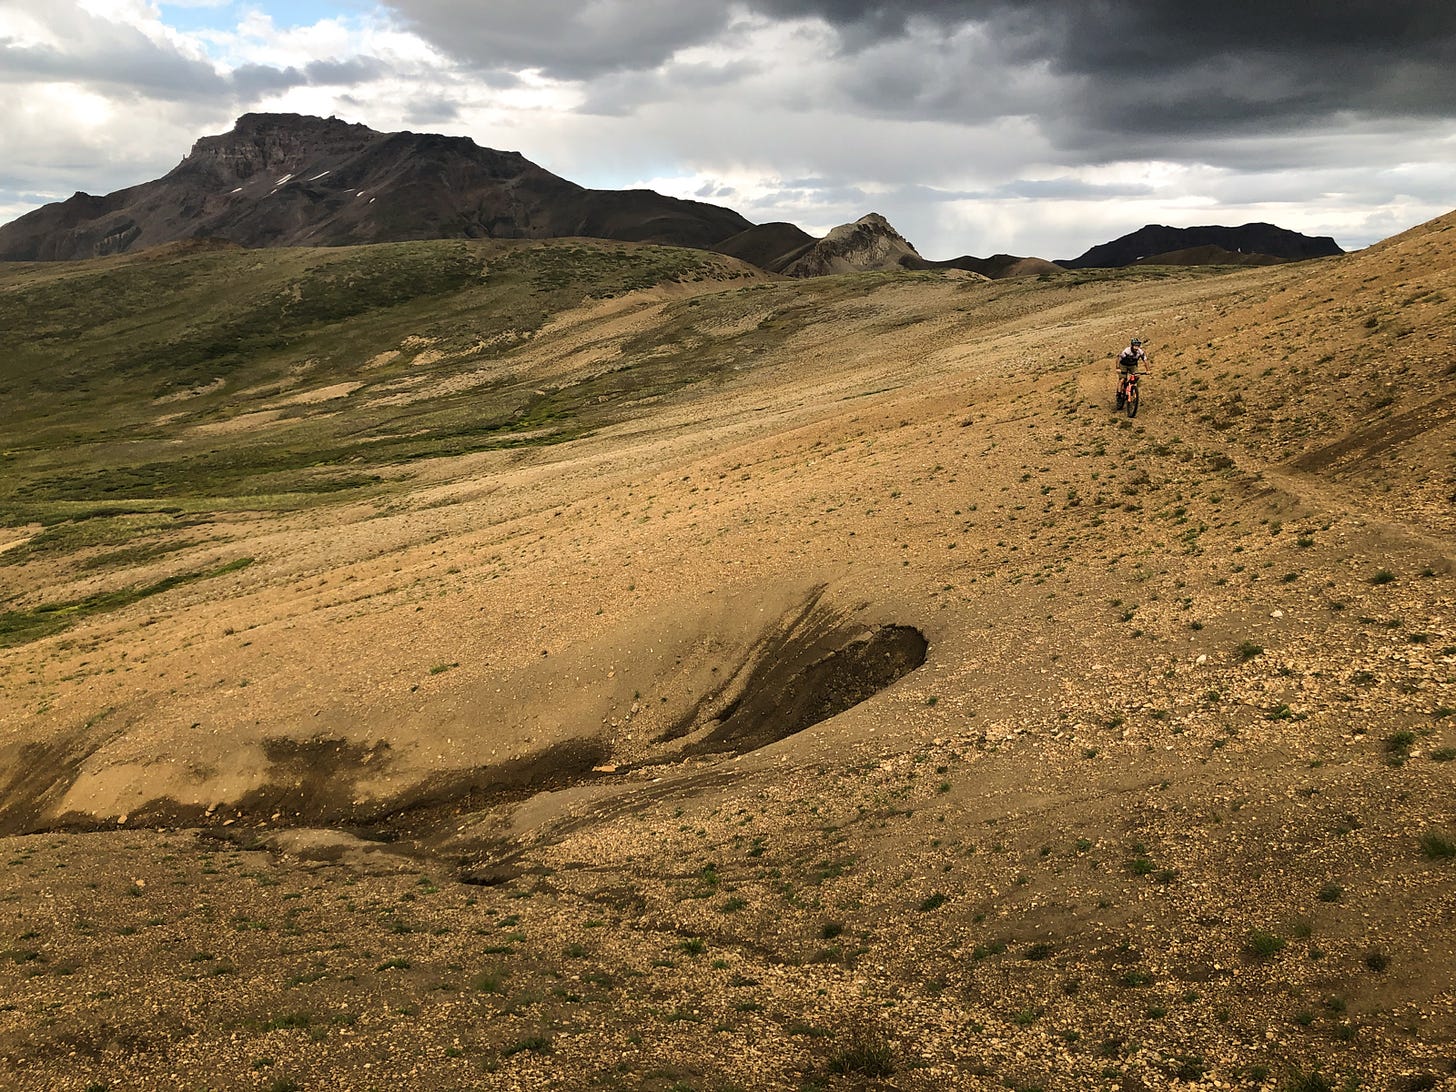
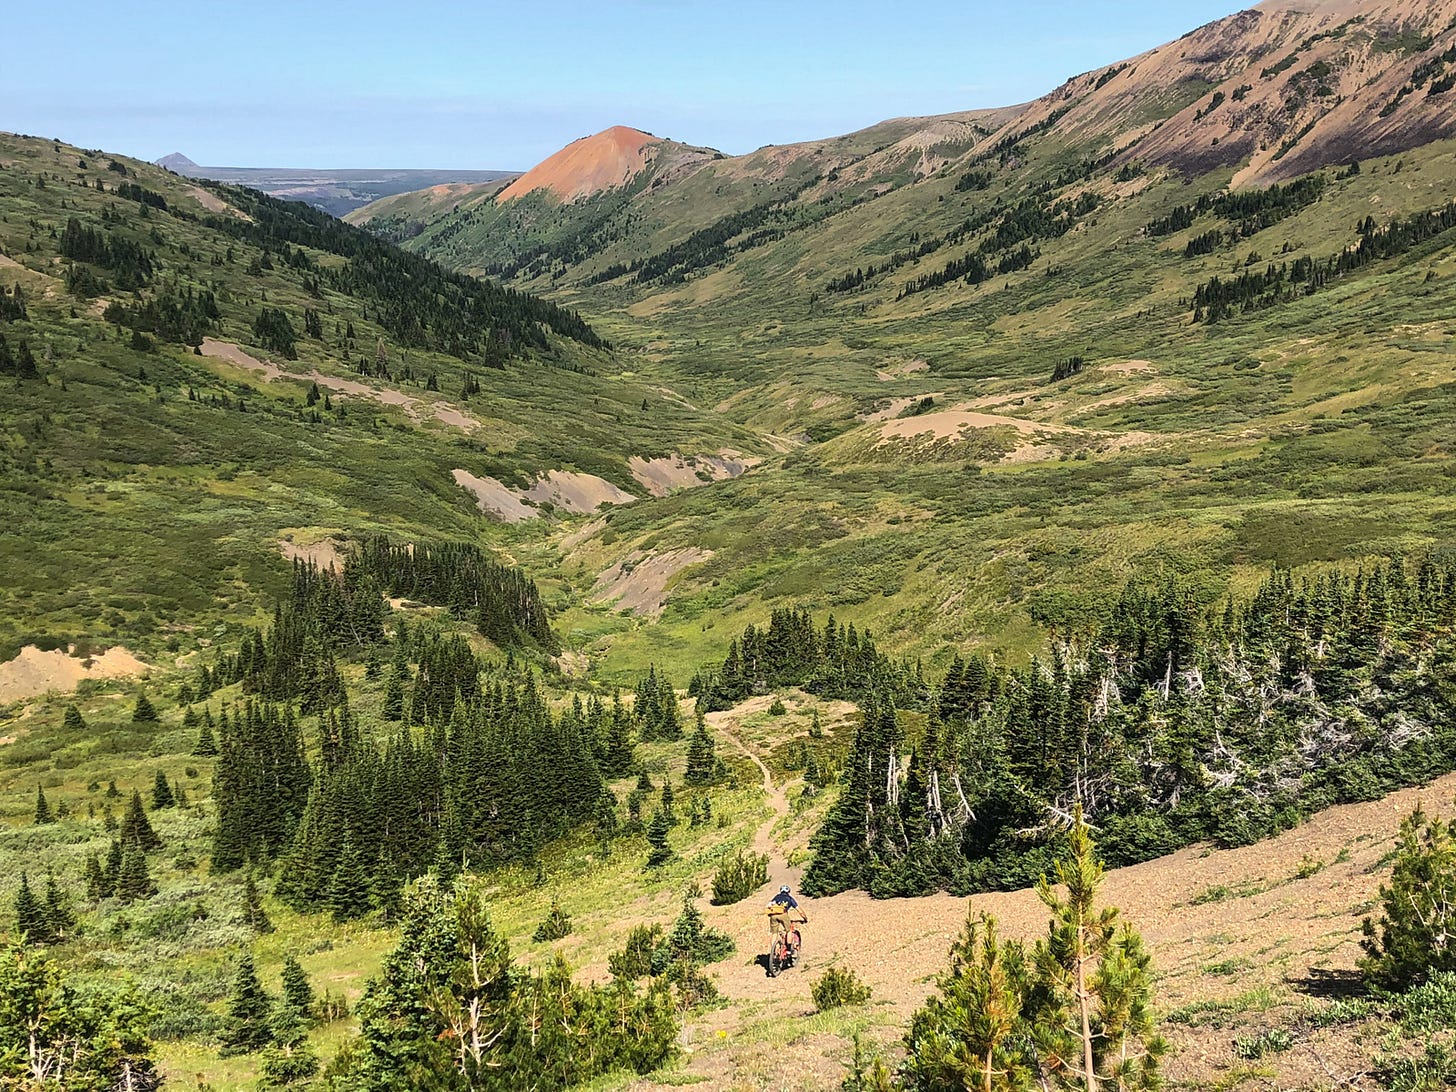
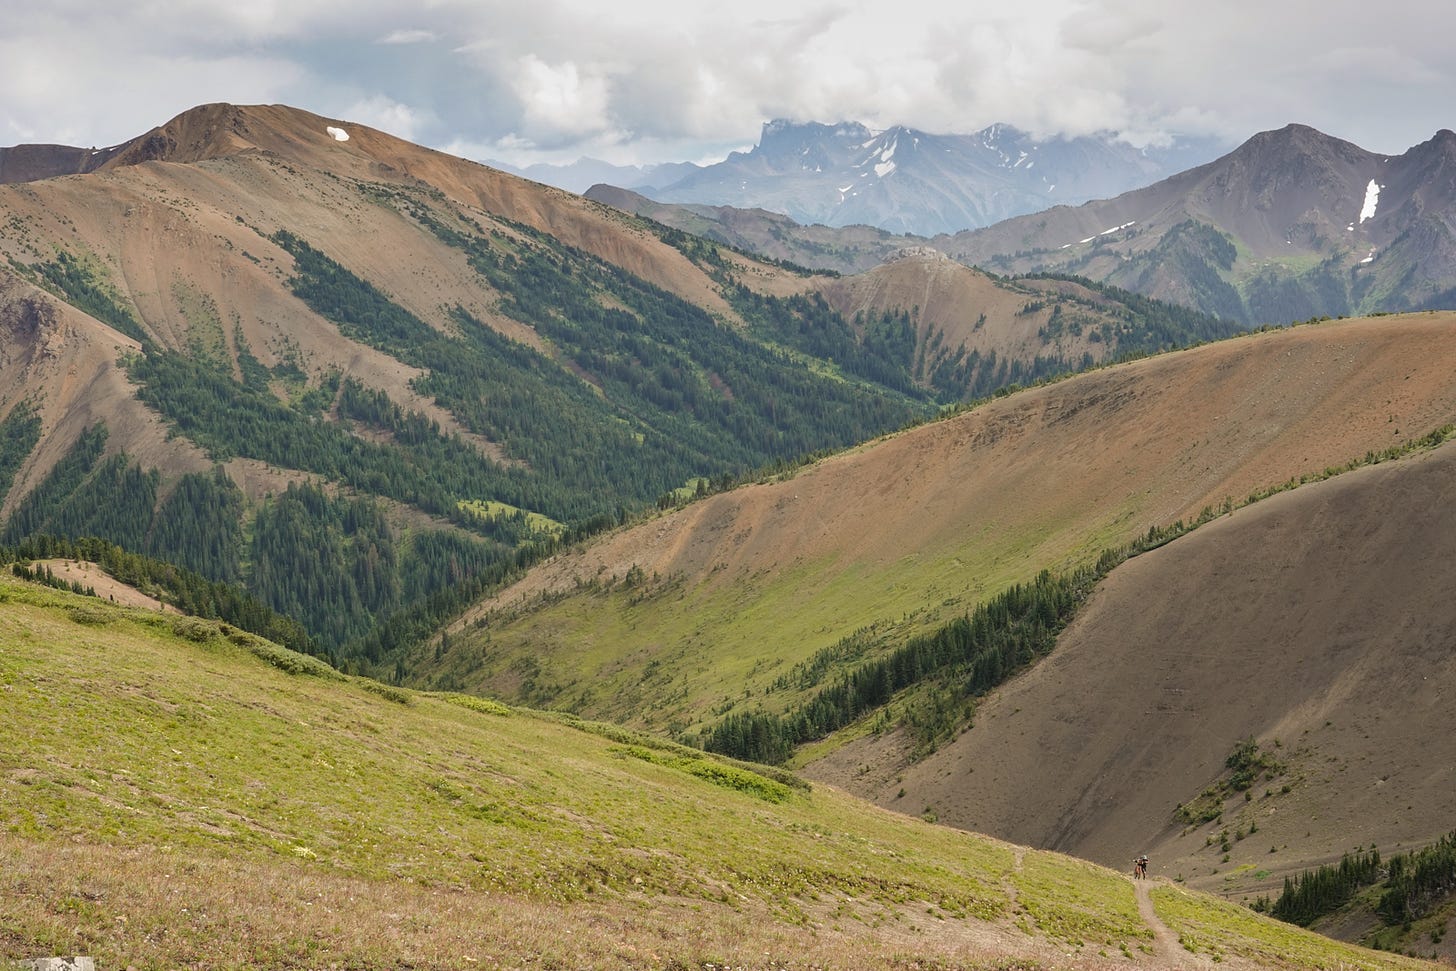
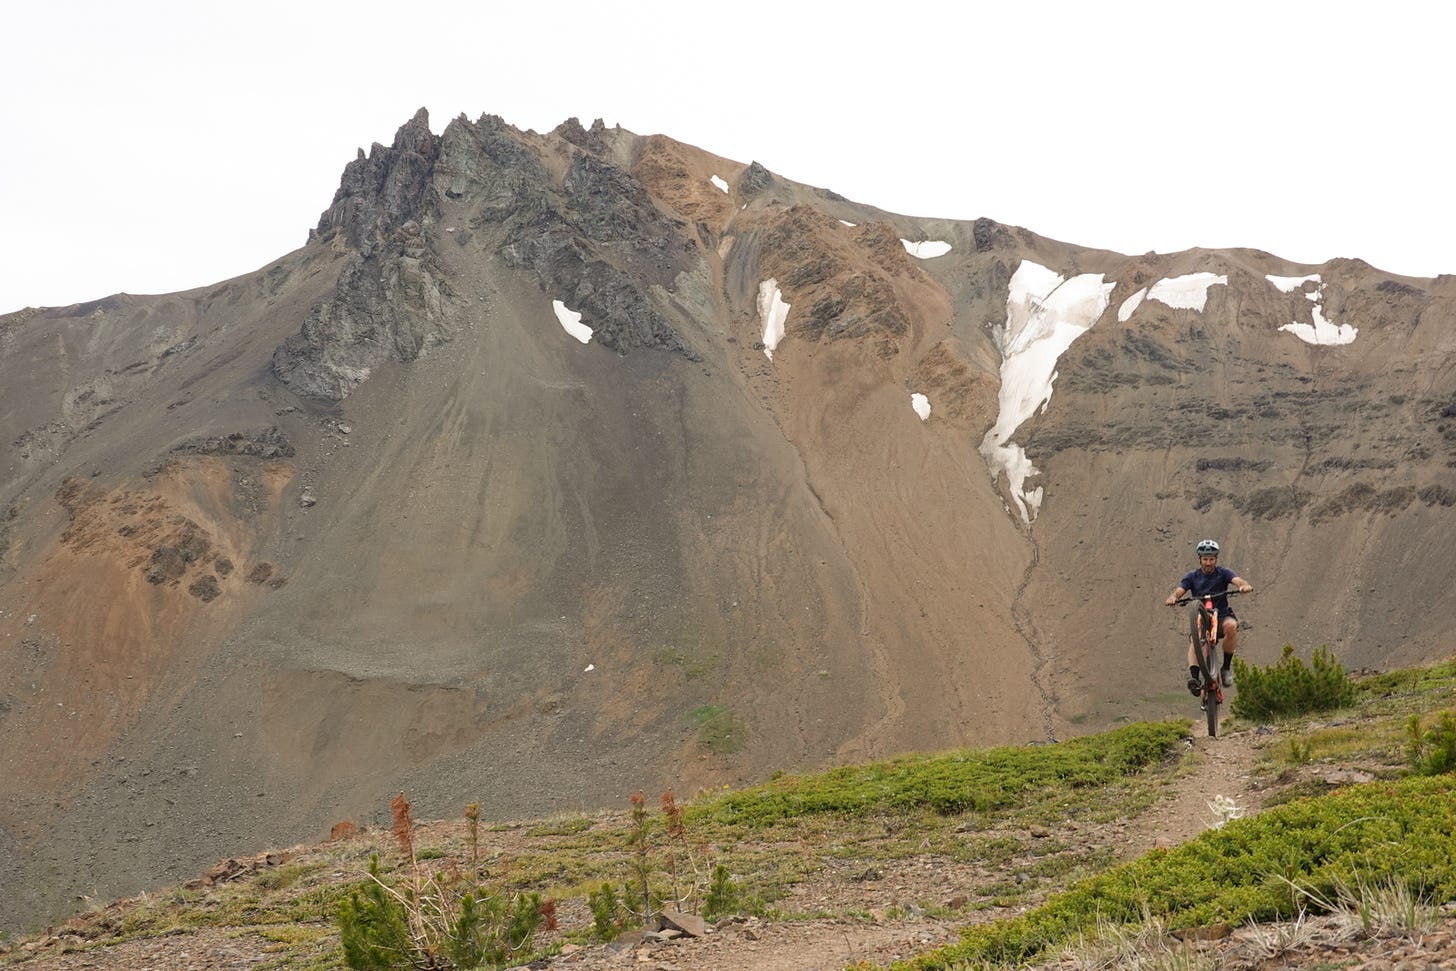
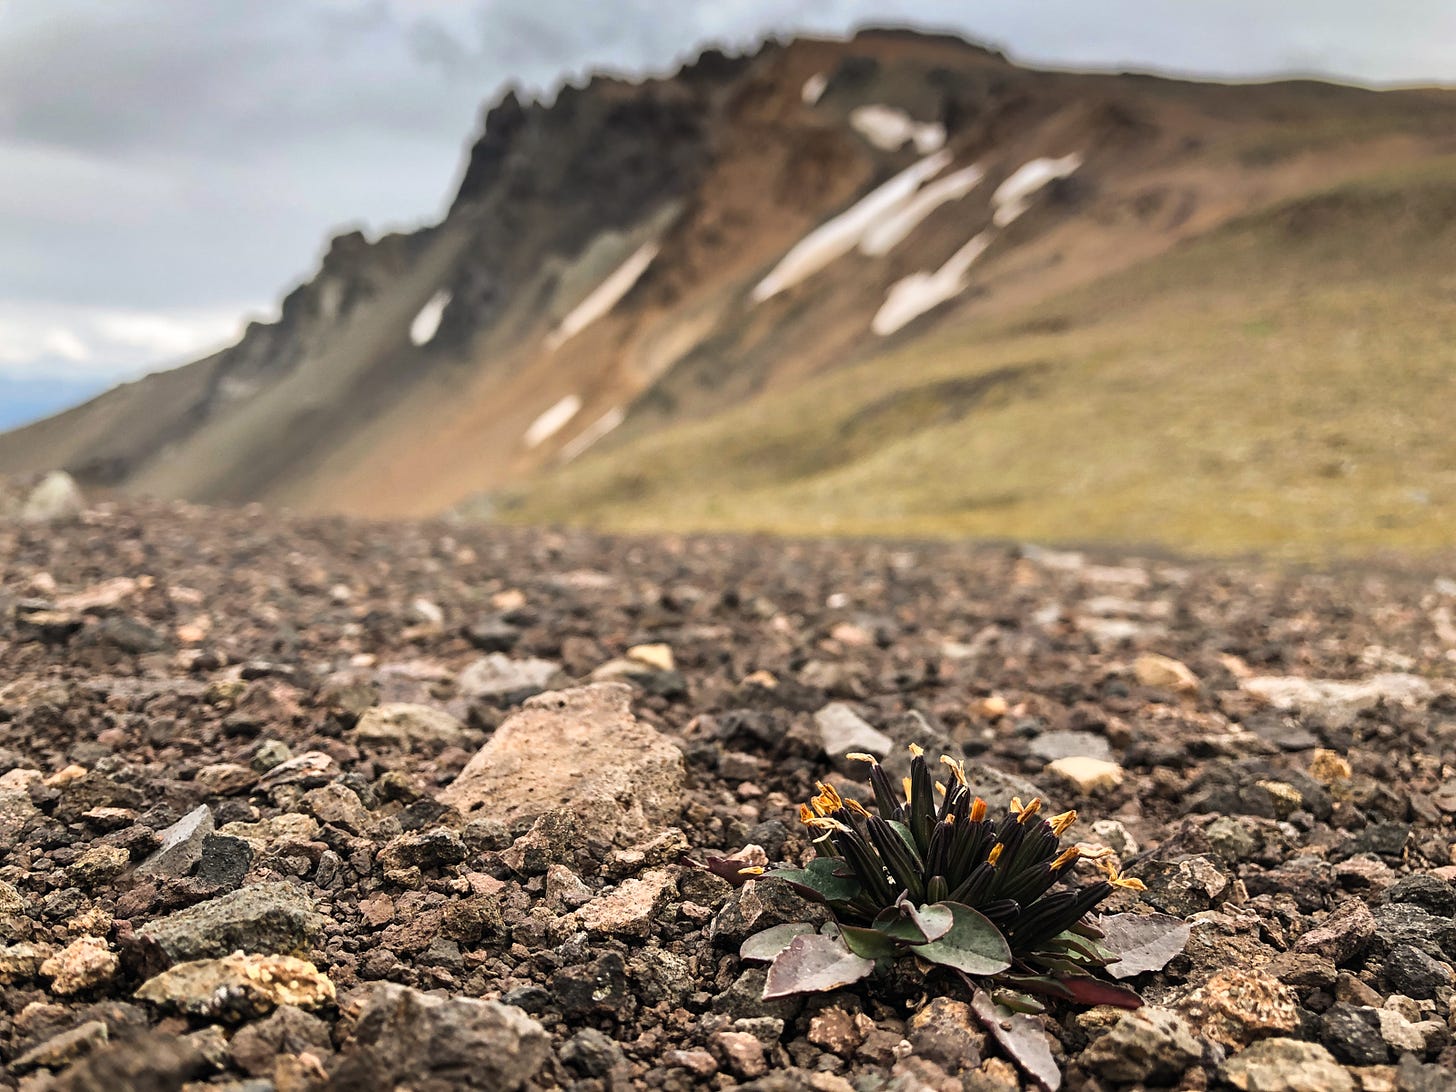
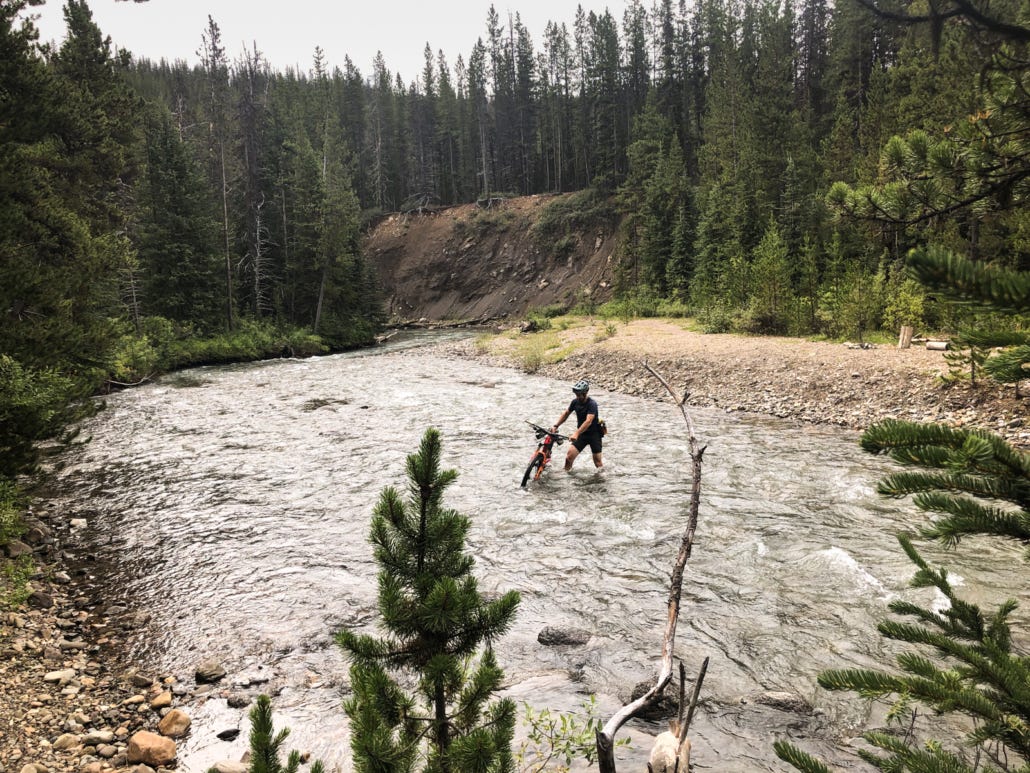
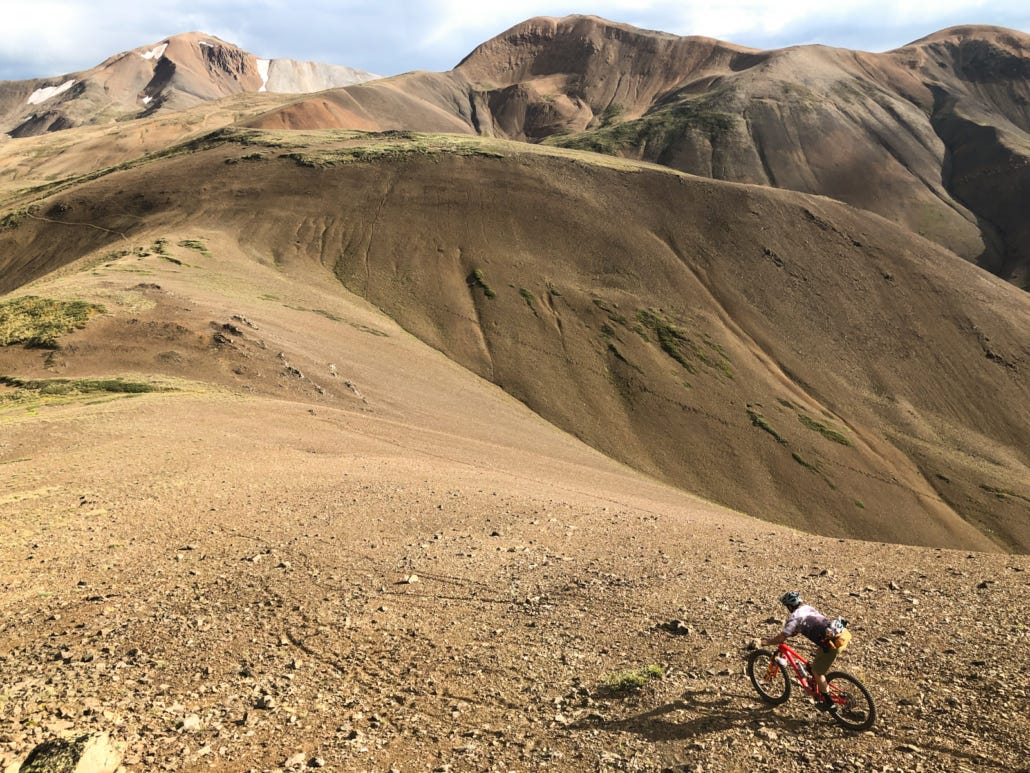
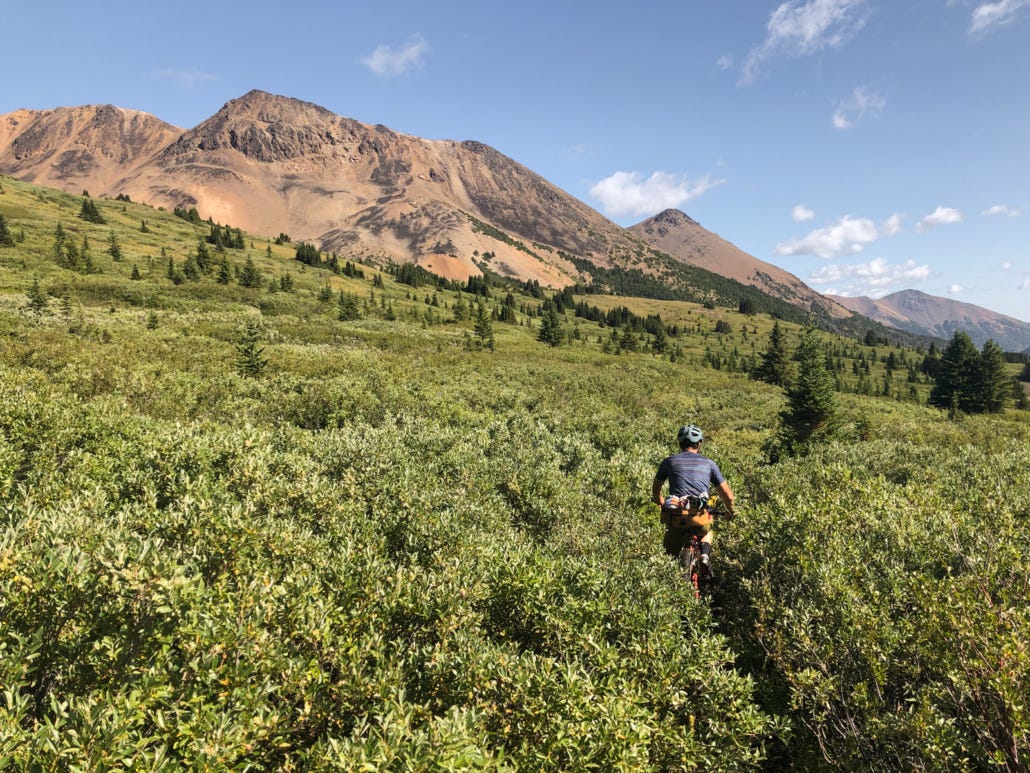
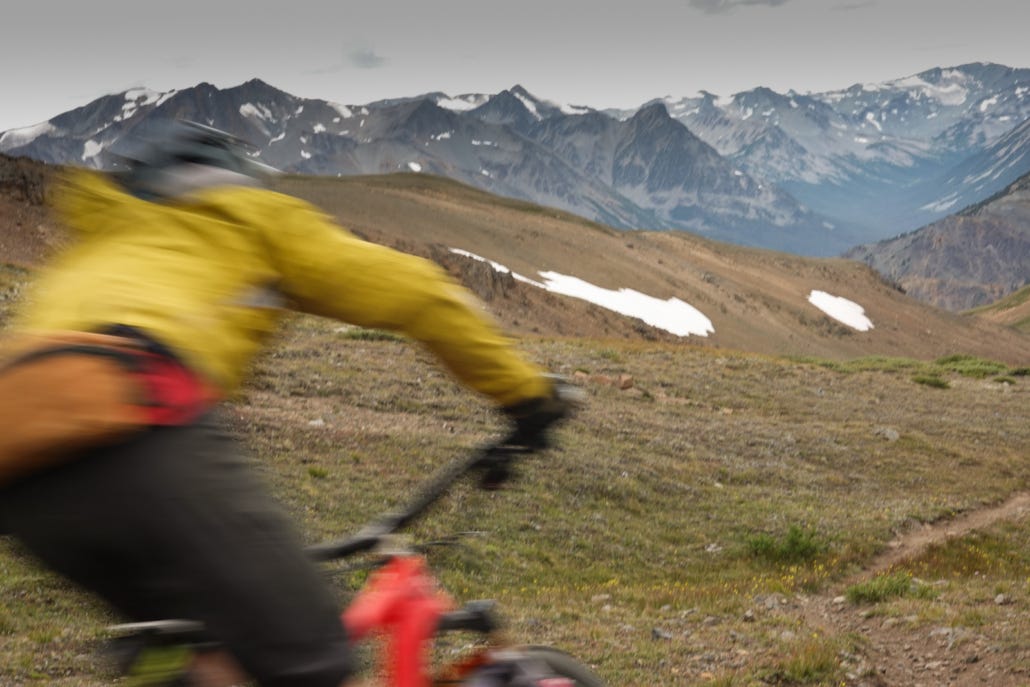
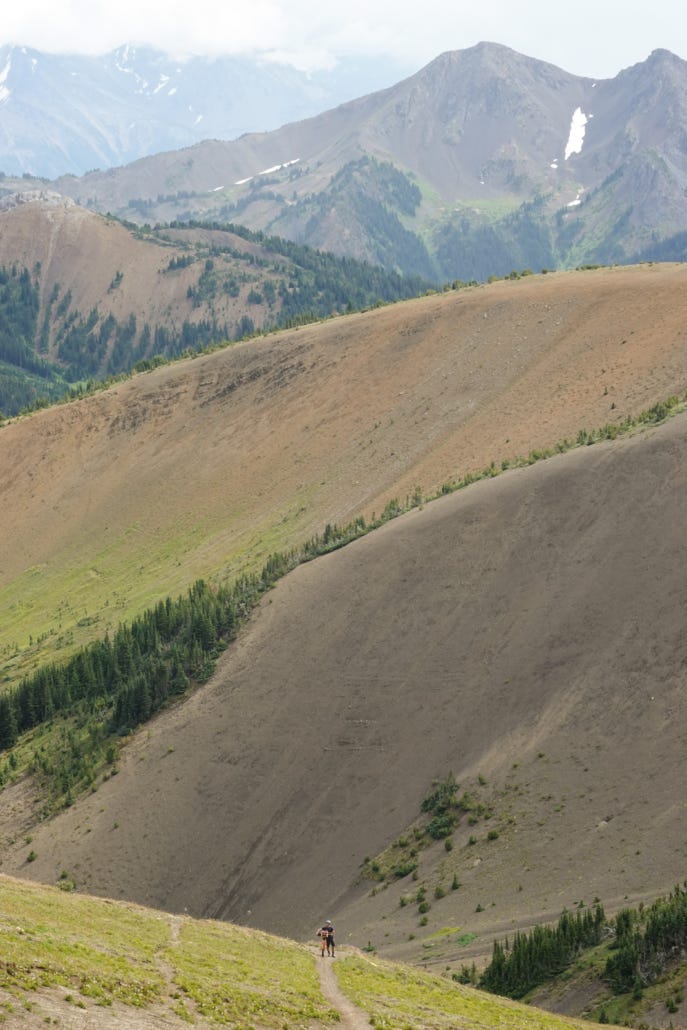
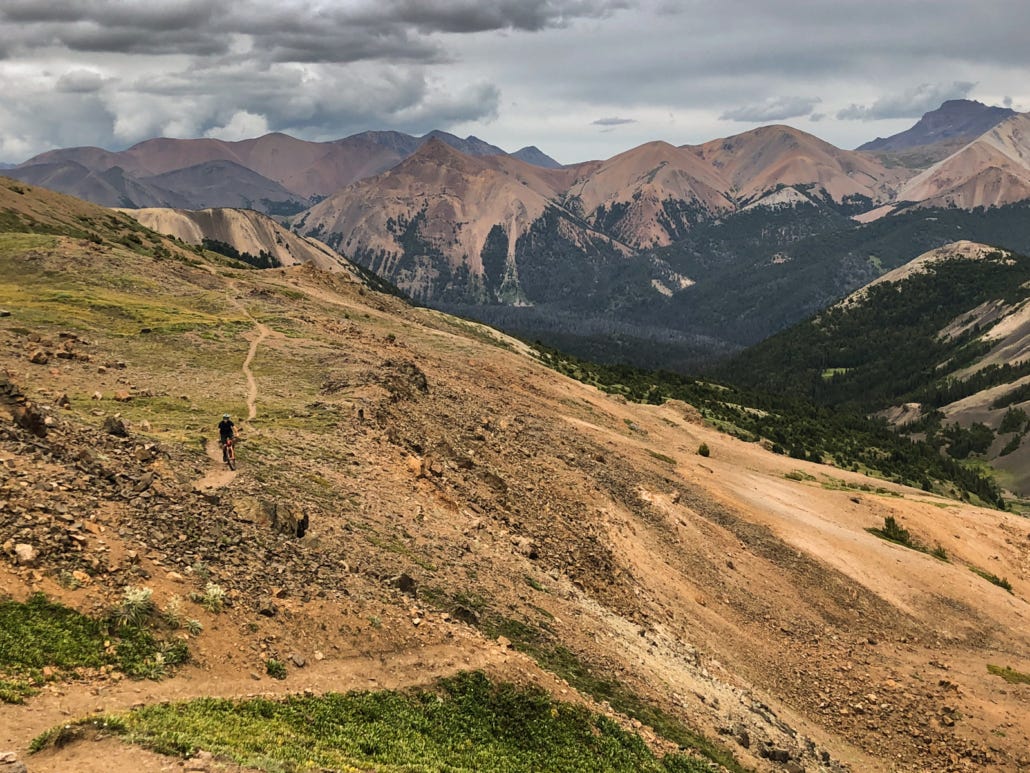
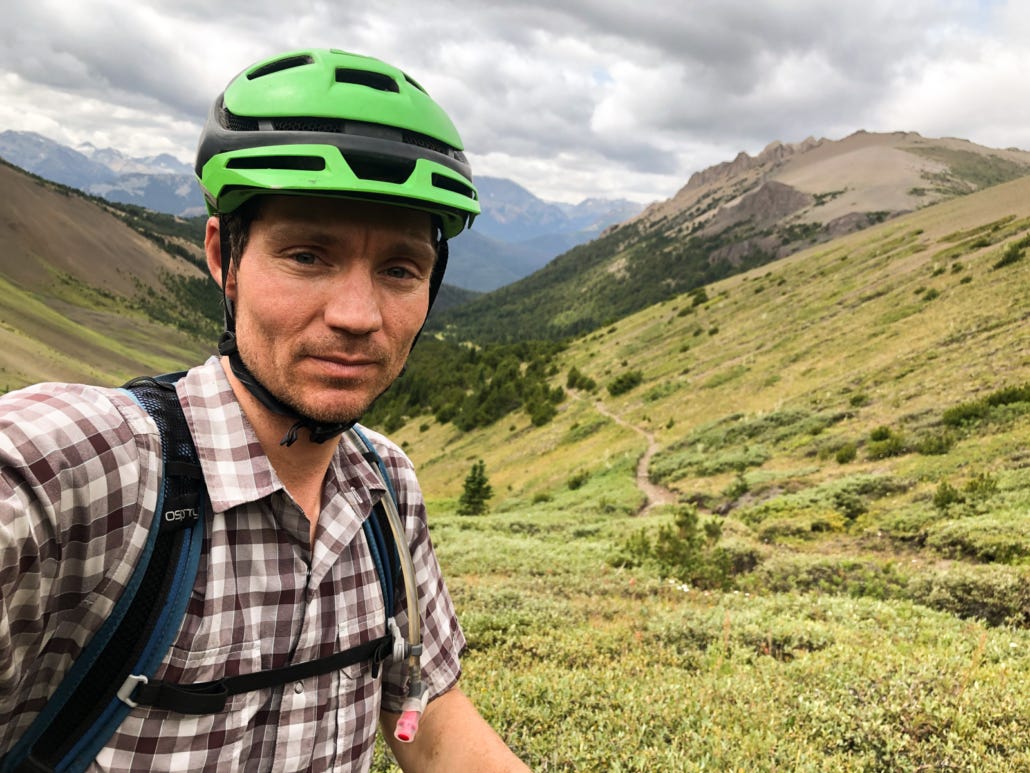
The verdict: WHOA. The Chilcotins are as beautiful and physically challenging as we’d heard. The terrain looks like a love child of Iceland and the Pacific NW, ranging from tree-lined lakes to icy creek crossings to alpine passes to scree traverses
This remote zone contains all the ingredients for a delightful backcountry adventure. All you need is food, maps, pedal power, and ear plugs to ignore the large bears chipmunks stomping around all night.
Wait, I’ve Never Heard of the Chilcotins!
To reach the South Chilcotin Mountains, drive north of Whistler, B.C. WAY north. There are two options: the tire-eating beast of a fire road called The Hurley, or via Lillooet, town motto Guaranteed Rugged.
Either way, it’s over two hours heading north off the grid while wondering if you’ll end up in Alaska.
Most people who visit the Chilcotins use a float plane from Tyax Adventures that ferries people and/or gear in and out. While enticing, parting with hundreds of dollars to avoid a little sweat seemed unnecessary at best...and irresponsible at worst. We hauled all our stuff, including bear spray for encounters with the REAL locals, grizzly bears, then set up two different base camps for unloaded riding.
I wasn’t expecting an all-fun trip. (Excellent adventures never are, right?) Hard work sharpens enjoyment’s edge, which is why chocolate tastes so damn good on top of a mountain pass.
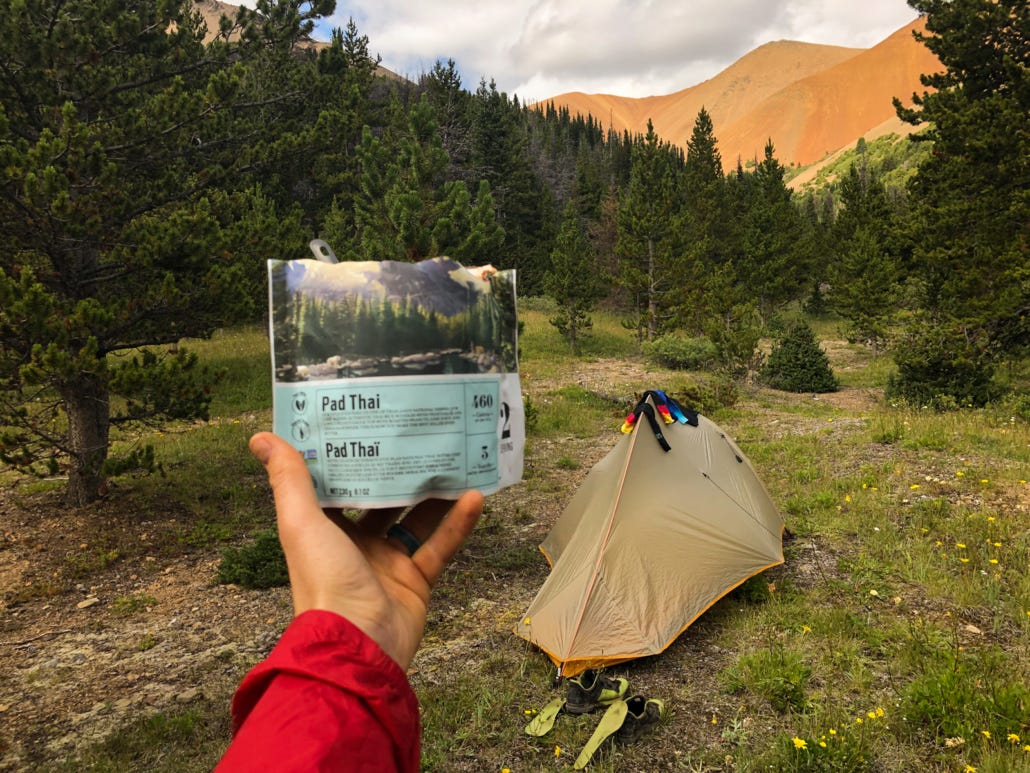
Honestly, the trip wasn't too bad. Even with my bags stuffed with 11 freeze-dried meals and a jar of peanut butter, sweeping views were my appetizers and staring at mountains while eating pad thai was a double-whammy dinner.
By the way, dig these kinds of posts? Sign up for the free 2x/month Traipsing About newsletter for more tales from the mountains and creative challenges like drawing and piano when I'm off the bike.
The Experience
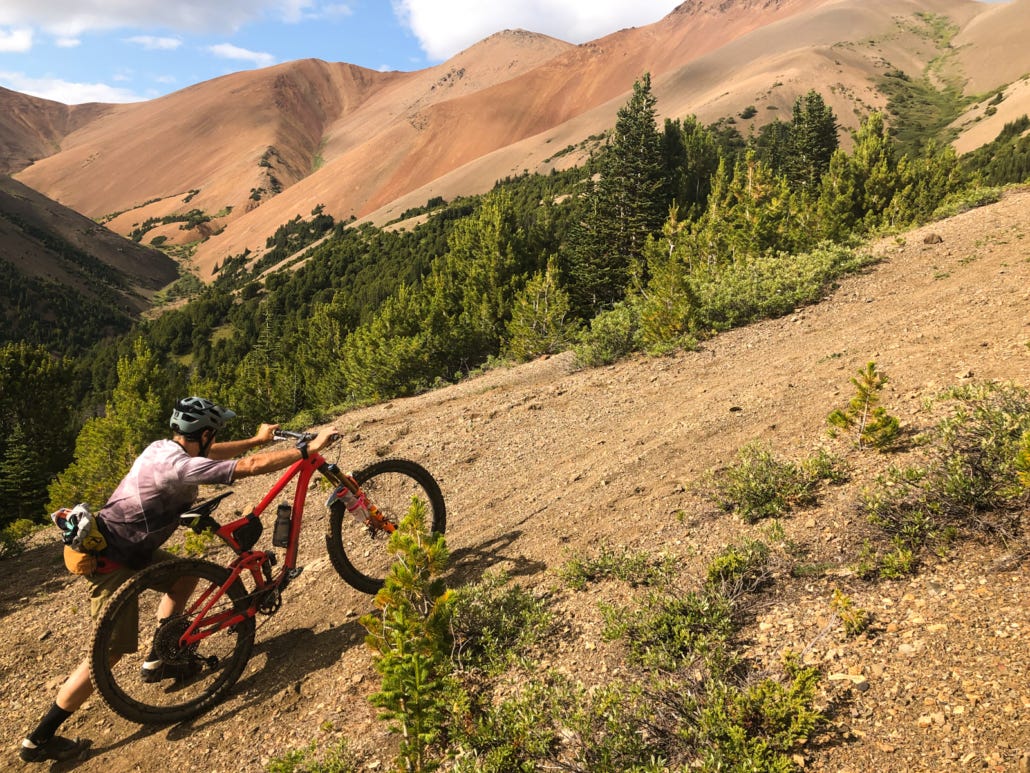
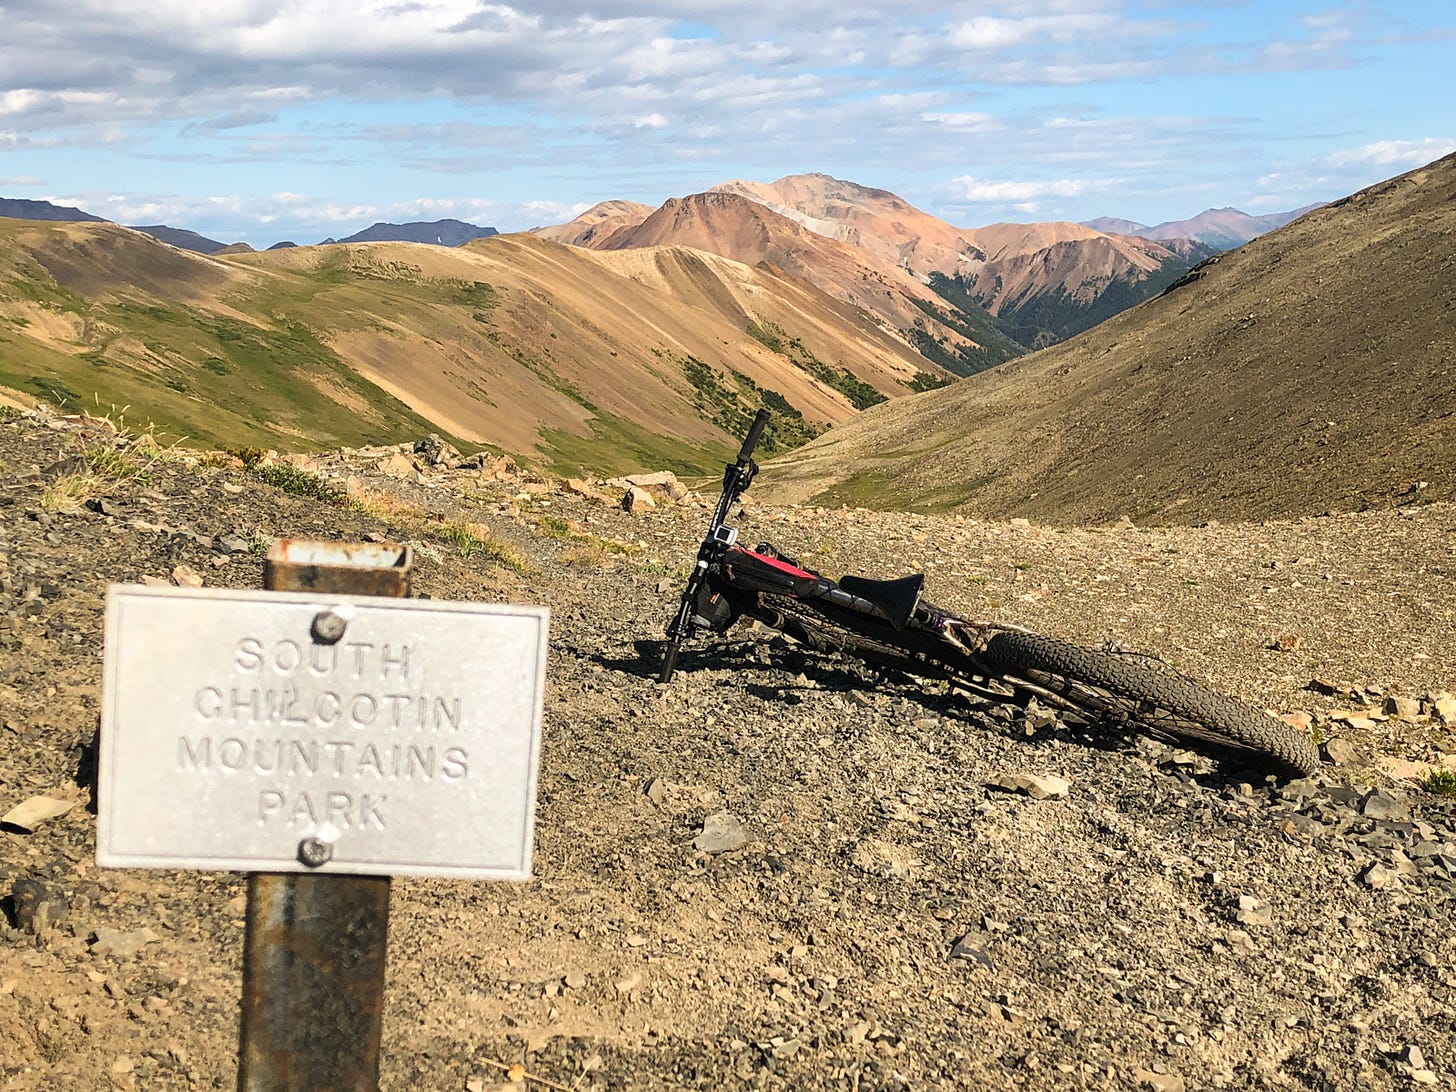
Friends warned us about the push required to get into the Chilcotins. Horse hooves created the backbone for these mountain trails, so they are A) steep as hell, and B) rugged. Many times pedaling simply didn’t make sense and we’d hike-a-bike, leaning into the bars. Some sections are so steep that pushing a loaded bike isn’t possible. The routine was step, push up with the bike, lock brakes, move feet, push up, repeat. Isn’t bikepacking FUN?
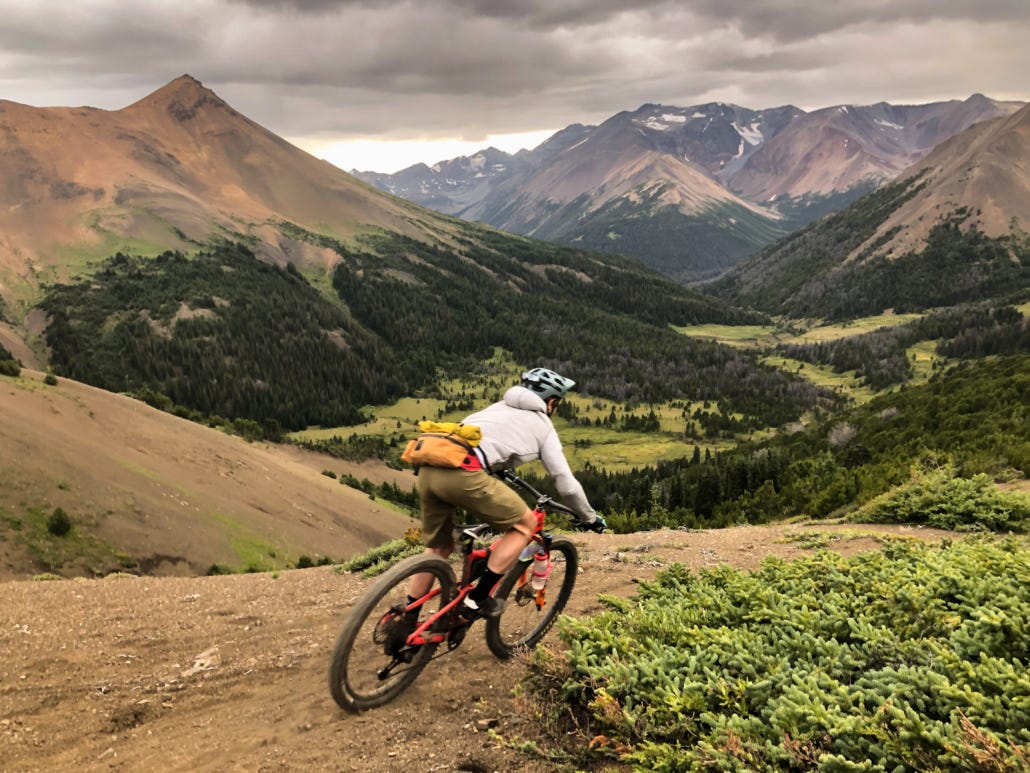
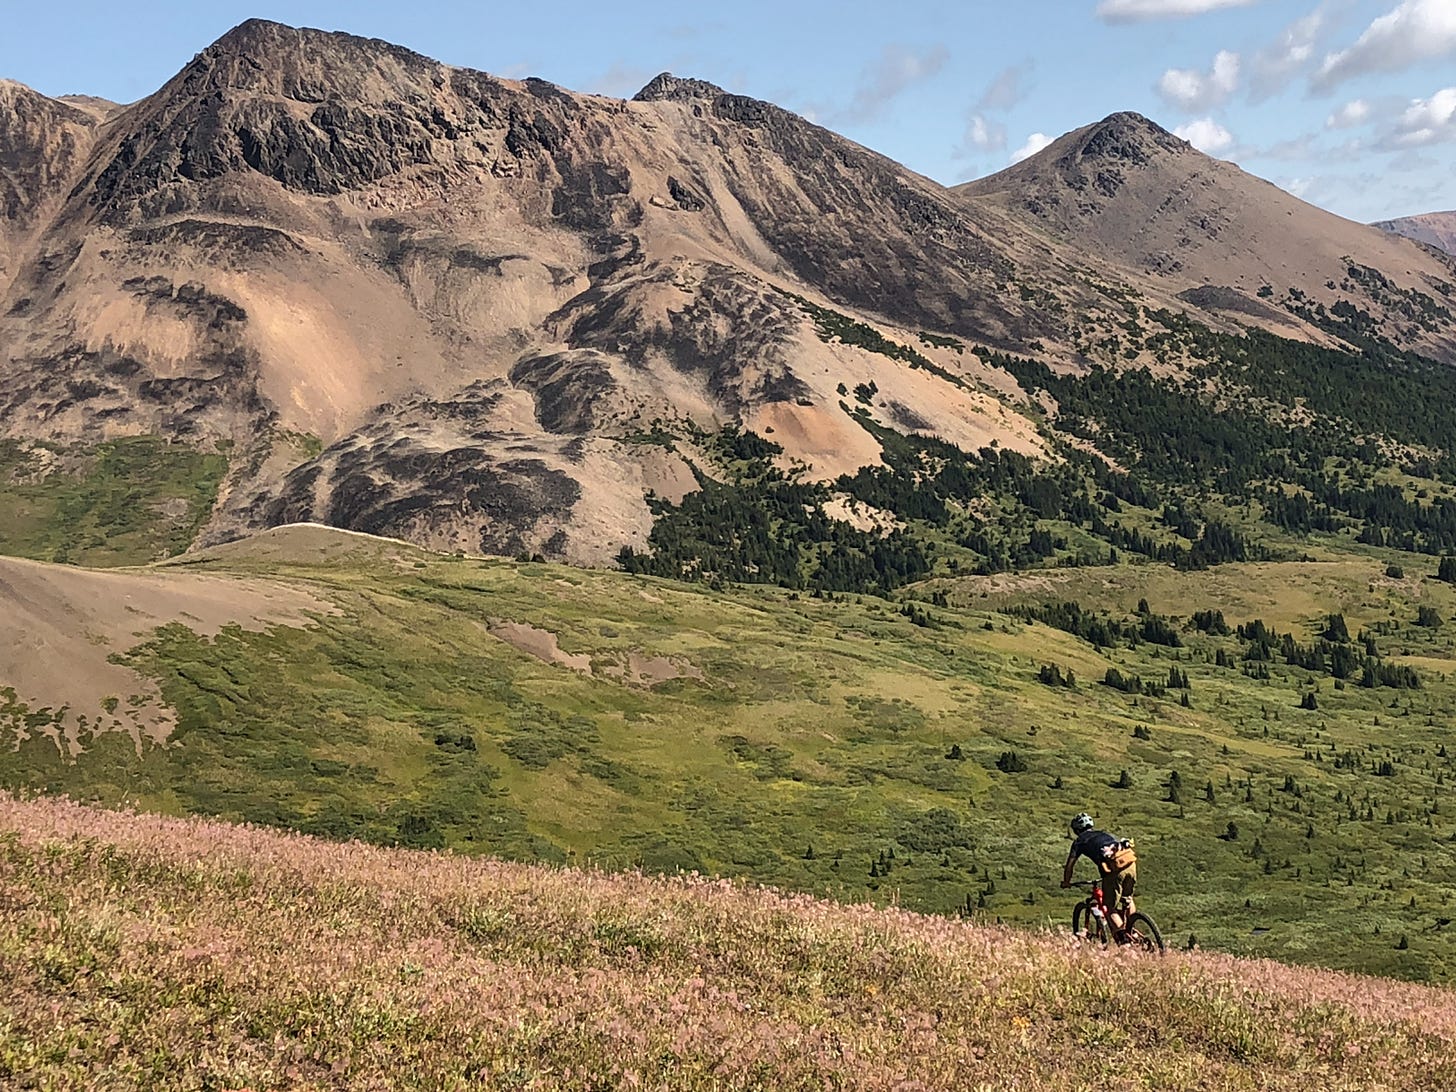
The upside to pushing: unlike with a headwind, there’s always fun to be had on the other side of a hard effort uphill. The reward is solitude on mountain passes and the adrenaline fairy dishing out large helpings of excitement on the downhills.
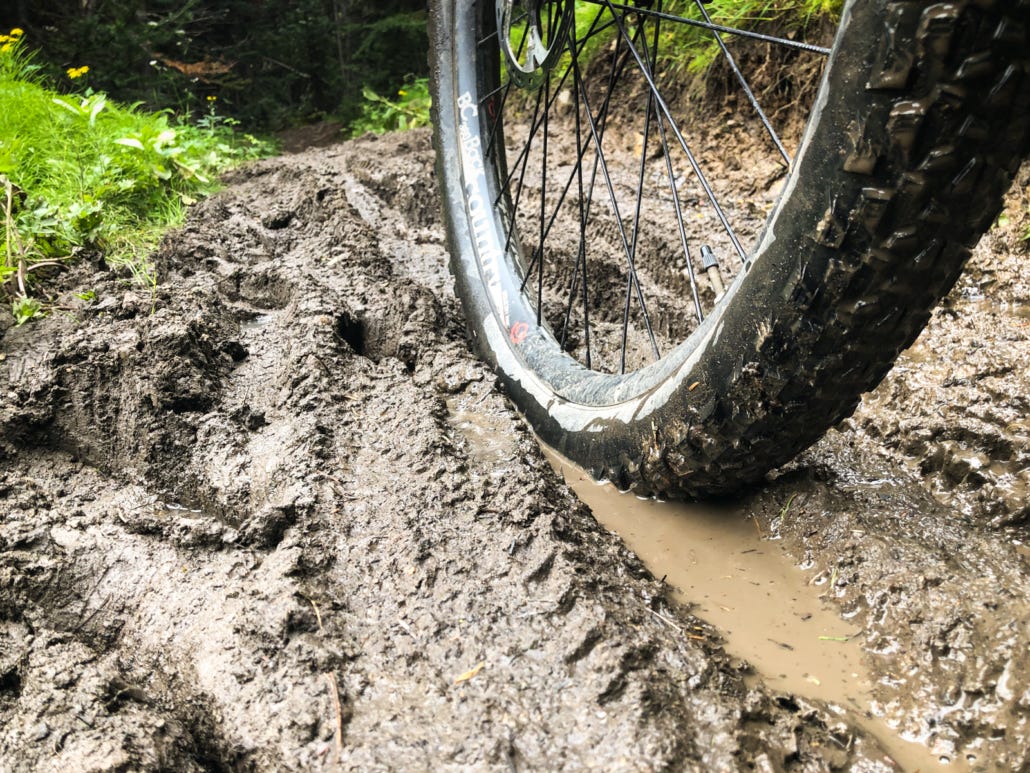
Another thing we quickly learned was the "Chilcotins Pace". By that, I mean SLOW: In an eight-hour day, we could cover about 20 miles. Creek crossings abounded, as did swampy/muddy sections, mountain passes, and rooty/rocky riding.
Every time we’d get cocky, we’d get smacked upside the head by reality. This was an experience, not simply a mountain bike ride.
It’s All Worth It
Yeah, it's hard work in dem mountains. Whatever. That’s the price to entry for bikepacking the Chilcotins.
But that’s not the reason to go there. It’s possible to melt brakes riding downhill ALL day with zero work at Whistler Bike Park, after all.
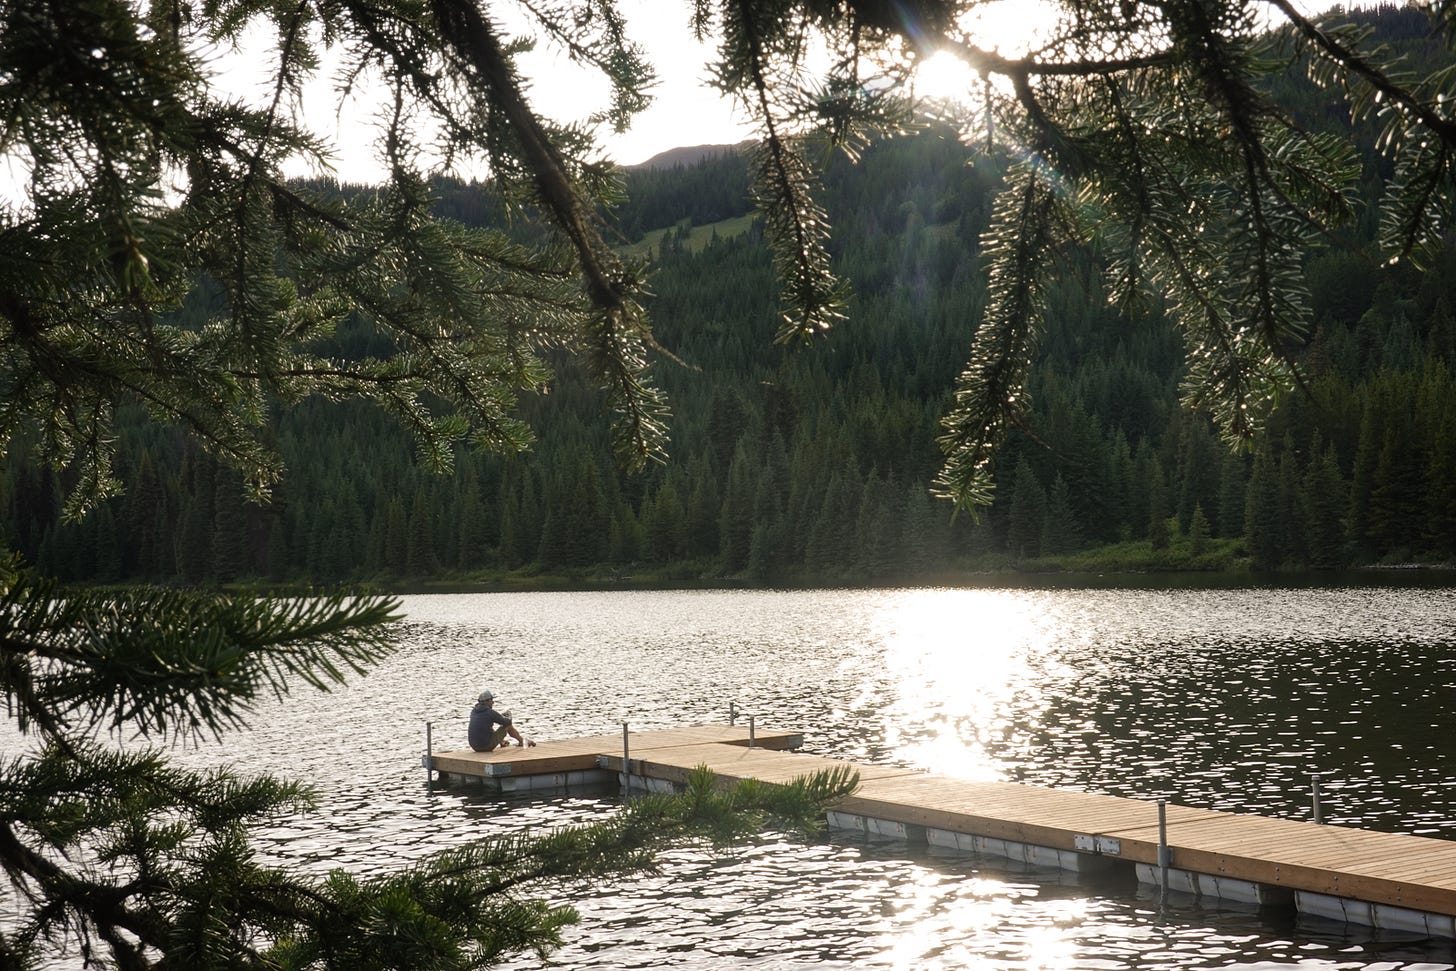
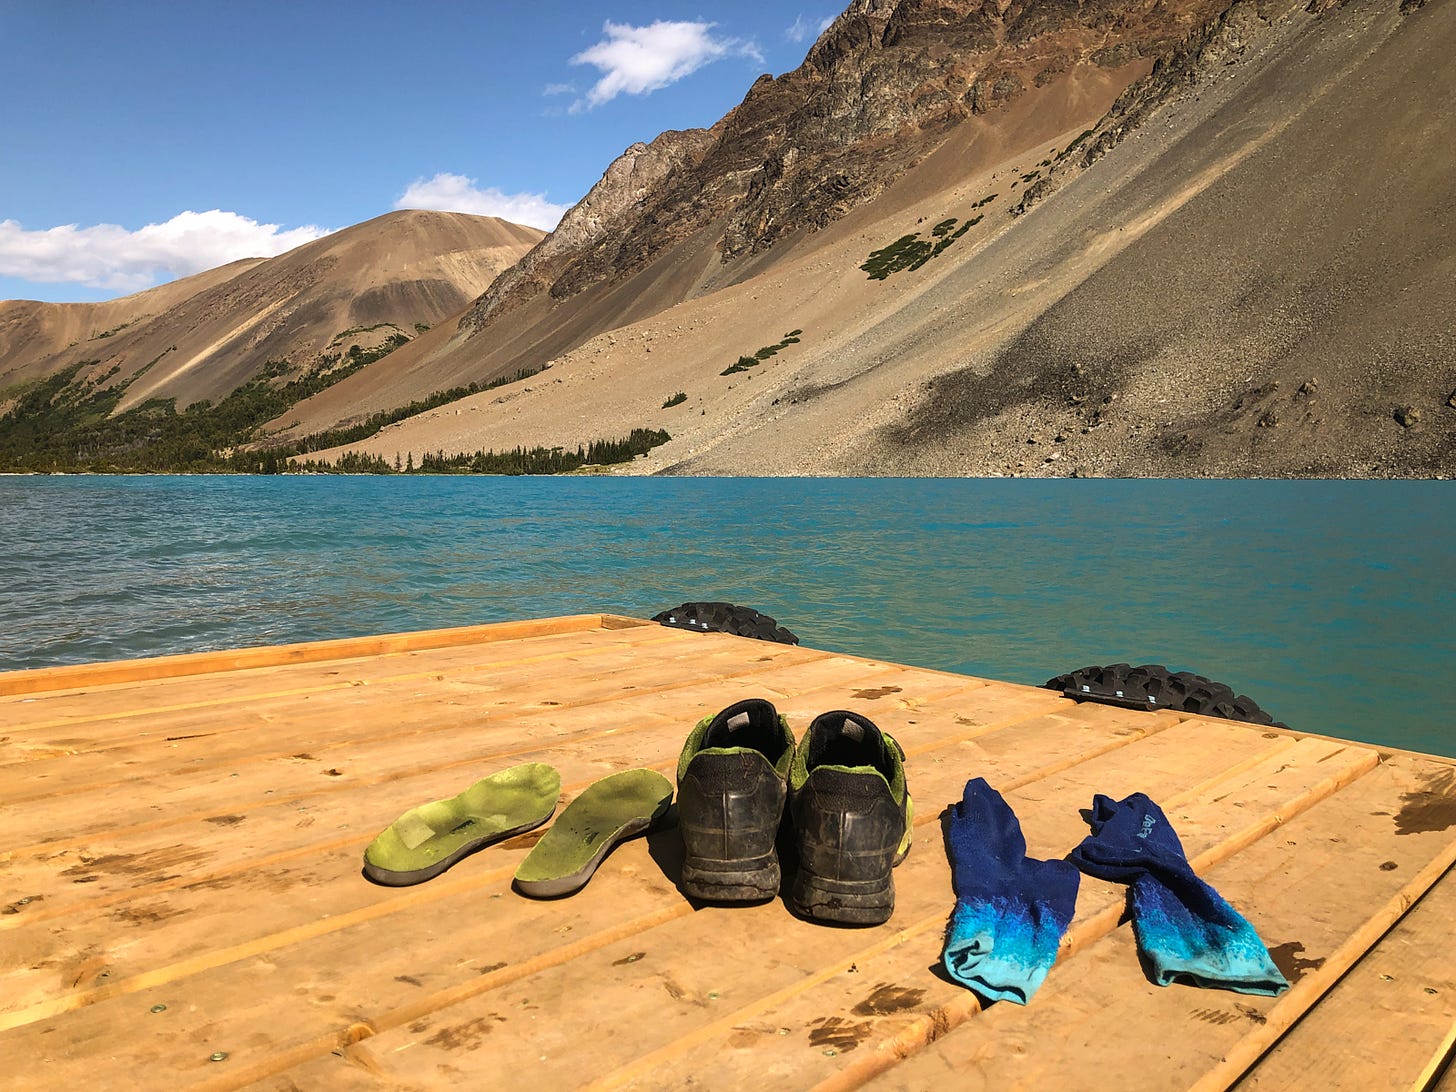
Beyond all the amazing riding, our time included camping by a quiet, beautiful lake. Sunsets over mountains. A burbling creek by our second camp. Solitude in the alpine listening to marmots whistle. Starry skies to make our eyes sing. A sense of adventure tough to find on manicured, purpose-built trails.
Perhaps best of all, we didn’t have to use any bear spray.
Photo Gallery!
Logistics and Details for Bikepacking the Chilcotins
Looking to skip the float plane from Tyax Adventures and pedal in yourself? Here are a few logistical tips:
Bring spare brake pads! Loaded touring + steep passes = toasted pads.
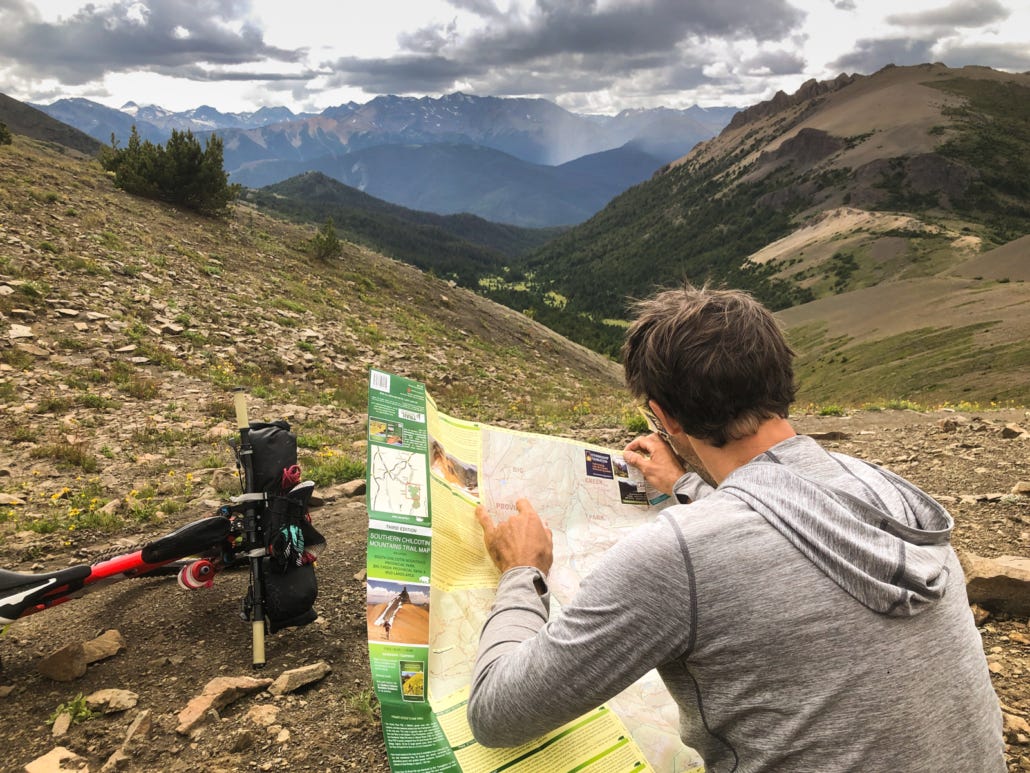
Buy a hardcopy map of the area or at least the Gaia one. Navigation via just Trailforks is possible, but hardcopy in case things go wrong is a good idea.
Go in the summer. Our mid-August trip featured perfect temps, few mosquitoes, and minimal rain.
Water is plentiful. This ain’t the desert: you’ll only need to carry one full water bottle except maybe over the passes.
Respect the Chilcotins Pace. We found that planning to go 20 miles in an 8 hour day out was a good estimate. (On a typical ride in most places, I move 3-4x faster.)
This is bear country. Bring bear spray! Spruce Lake and Lorna Lake have bear boxes to stash food in. You’ll need to hang food in trees if you camp elsewhere, so bring some rope for that.
There are two primary ways to pedal in: a relatively easy route up Gun Creek Trail or a burly climb over Windy Pass. If you’re looking for alpine terrain like we were, take Windy Pass.
Basecamping treated us well as a way to explore on an unloaded bike for a few days. Our camps: two nights at Spruce Lake and two below Manson Col.
Layer up! The weather is fickle and moves in fast on mountain passes.
Ride Stats
Here are each day's details as recorded on Strava. I suspect moving times should be higher, but my GPS thought I wasn’t moving on some of the steeper uphill hike-a-bikes… Apparently “glacial pace” isn’t a Garmin option?
Day 1: Tyax Lodge to Spruce Lake via Windy Pass on Tyaughton Creek Trail. Relatively fast going and mostly rideable except Windy Pass. Stats: 20 miles, 4.5 hrs moving time, 5300' climbing.
Day 2: Deer Pass loop (CCW) from Spruce Lake via Mid Tyaughton Creek Trail with return Upper Gun Creek Trail. Slow going on Mid-Ty Creek, almost 100% hike-a-bike over the pass, and rideable from there. Stats: 25 miles, 5.25 hrs moving, 5000' climbing (unloaded)
Day 3: Moving base camp to sub-alpine camp on Manson Creek, then unloaded riding/pushing up to Manson Col. *This is a lesser known, RAD zone. Stats: 17 miles, 4.5 hrs moving, 4300' climbing
Day 4: A big CCW up Manson Col, Little Paradise, Little Graveyard, Big Creek, and Lorna Pass. Fair warning that Little Graveyard and Big Creek are muddy, frustratingly slow trails if it rained recently. Stats: 22 miles, 5.25 hrs moving, 4400' climbing (unloaded)
Day 5: Up, over and out! Down Manson and Mid Tyaughton Creeks, up Windy Pass (get ready for barely doable hike a bike) and then back to Tyax Lodge via High Trail and Molly Dog and Pepper Dog trails. Stats: 30 miles, 5.75 hrs moving, 5000' climbing
Favorite Trails
The downhill ones, DUH. Specifically Lorna Pass ridden south, Deer Pass ridden west, Windy Pass ridden either way, and Manson Col/Creek ridden with gravity on your side! You can't go wrong. The traverse trails in the valley were muddy for us, but were still entertaining in their own right. (Except for the bogs of Little Graveyard, that is.)
The Gear
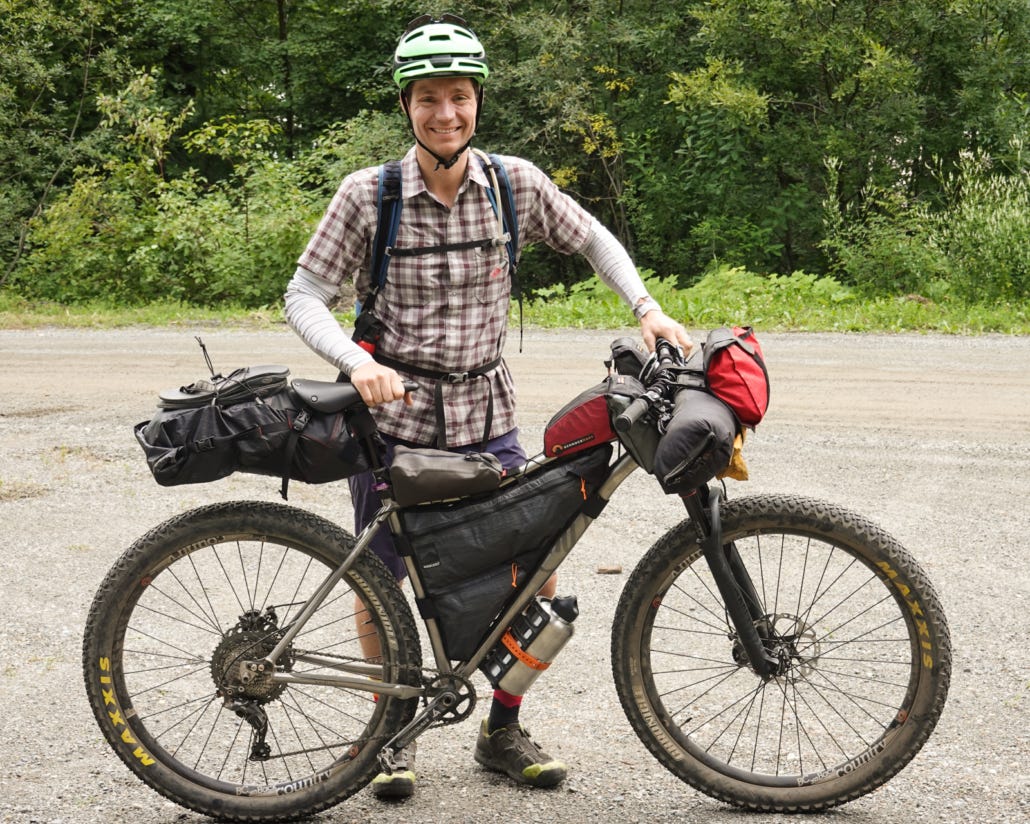
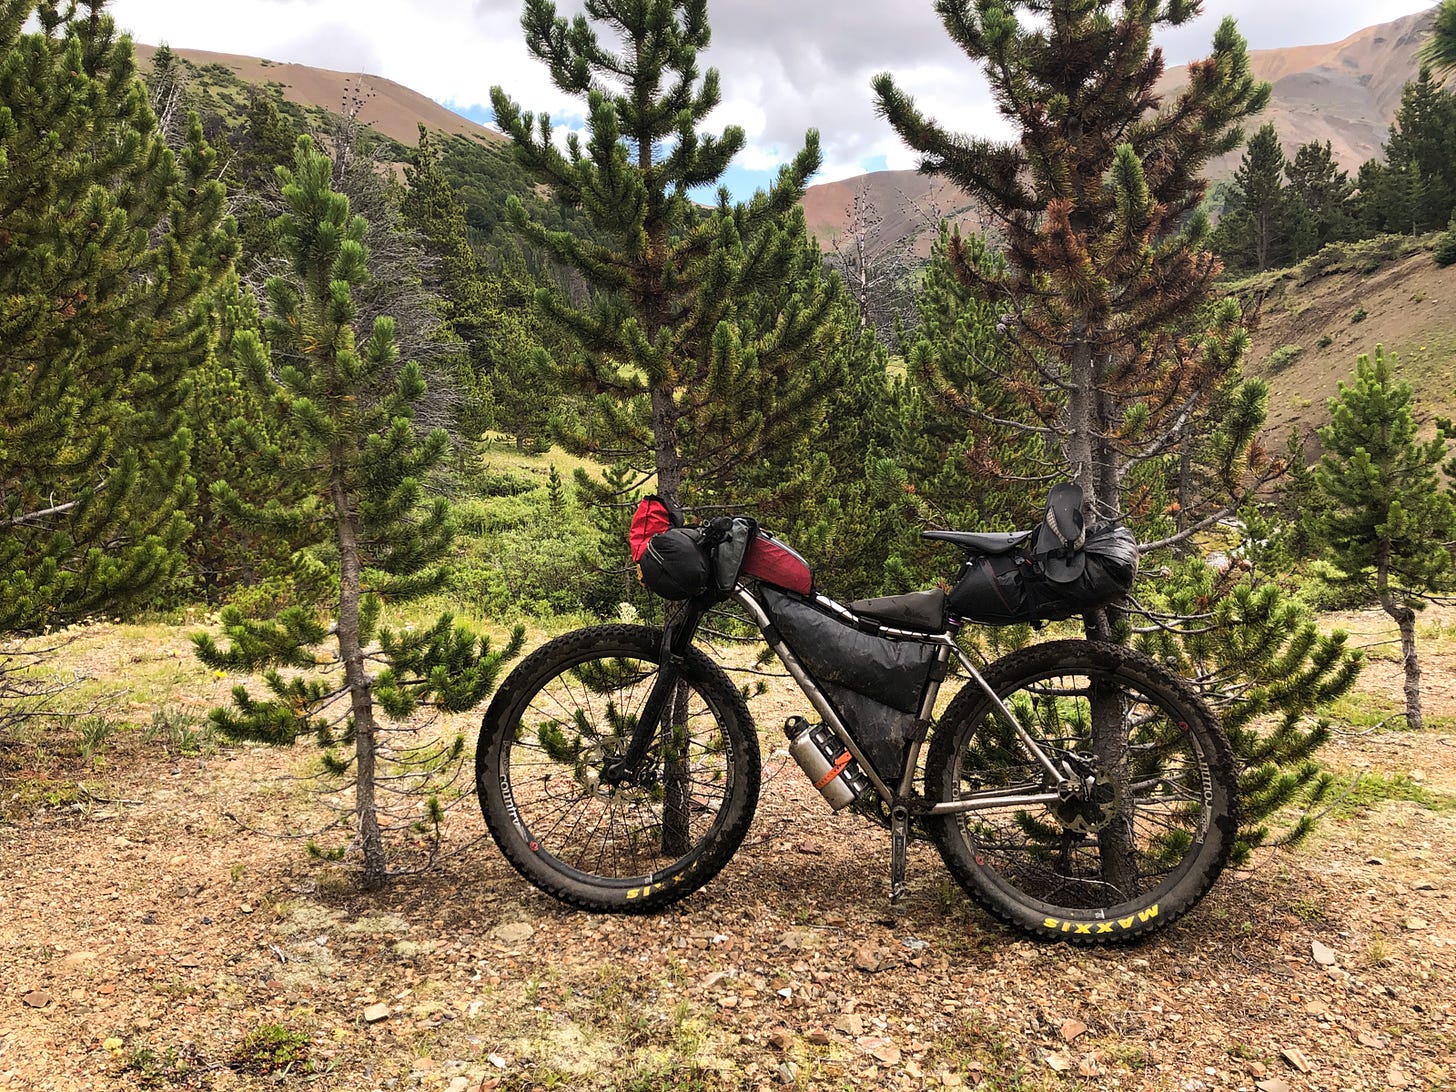
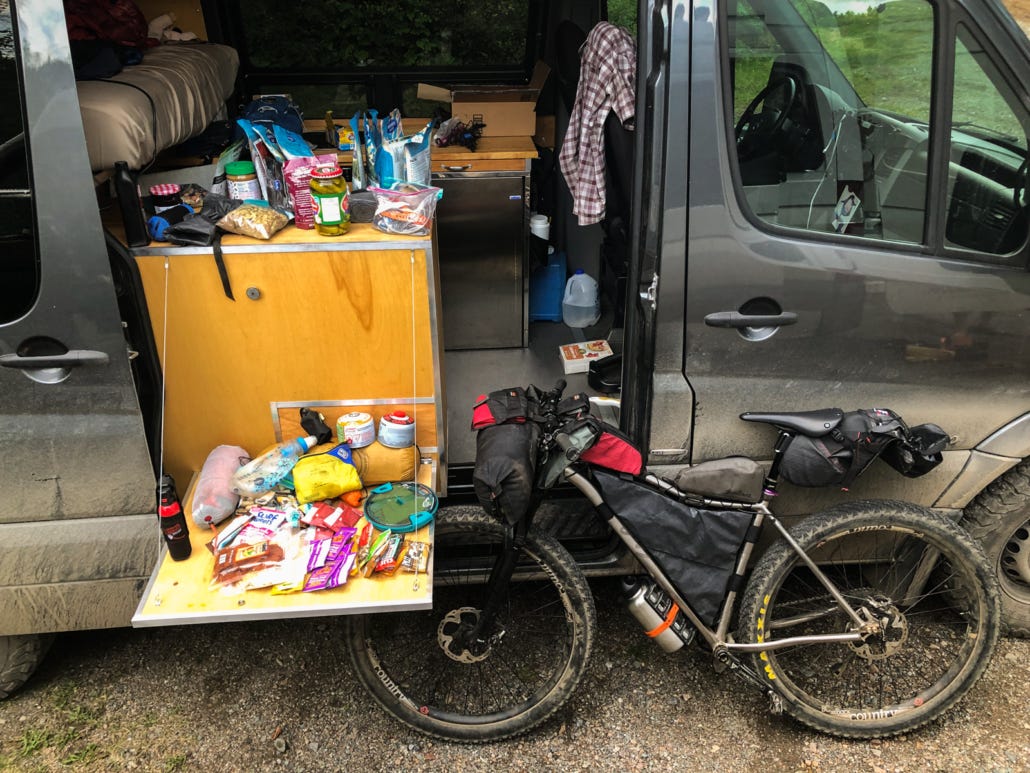
I rode a Why Cycles Wayward hardtail with a standard bikepacking setup similar to my Oregon Timber Trail setup. Here’s the spreadsheet for my Chilcotins packing list for those who want to get in the weeds!
Max gear weight (bike, bags, food for entire trip, 64 oz of water, gear I wore): ~80 lbs. No wonder those passes were hard, that's almost half my body weight!
Bike weight + unloaded bags: 37 lbs
Gear (sleeping, cooking, clothing, tech): 20 lbs
Max food weight: 14 lbs
Allow to me geek out... Weight matters, but adding a few pounds doesn't change much. My reasoning: if my bike plus me weighs 250 lbs, even adding 5 lbs of weight is only 2% more overall. I could have doubled my food for only 5% extra weight. I doubt it would have slowed me down much
My takeaway: Unless you're racing, that extra chocolate bar and warm layer is TOTALLY worth it!
Trip Food
If you’re aiming to do a bikepacking trip like this, you probably know what your body needs. If it helps, here’s what I brought:
~20,000 calories, or about ~3,500/day. (This will obviously vary depending on the person.) Enough to keep the fire hot without towing a trailer! Dense calories is the name of the game, with a few luxuries.
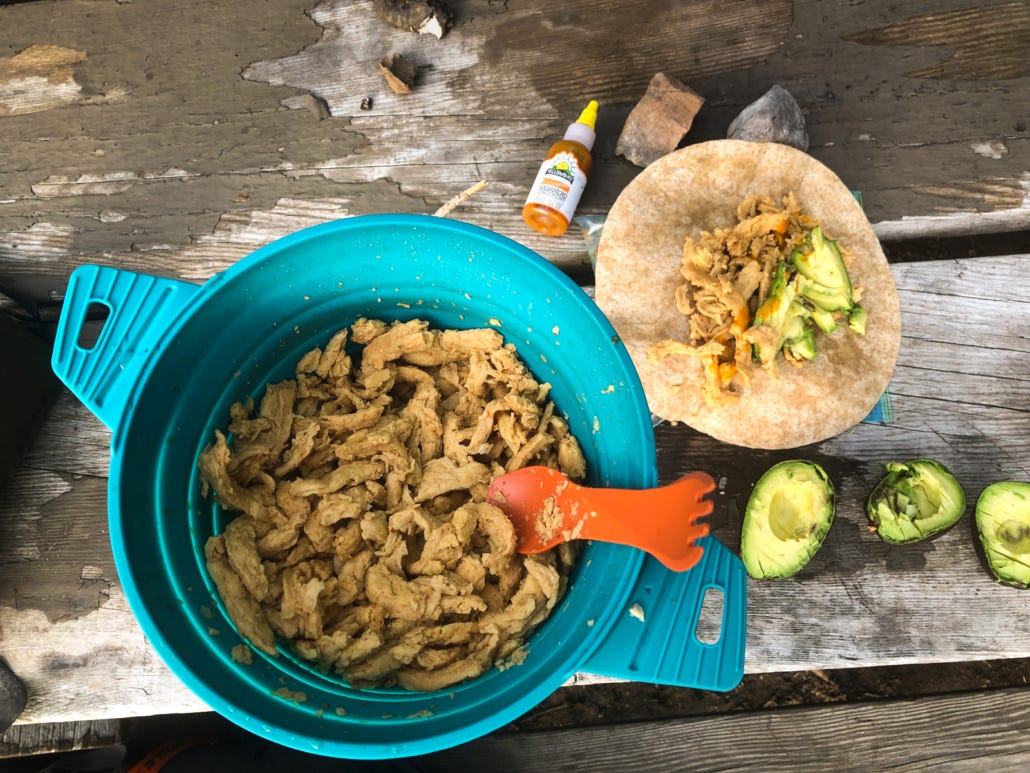
All the Grub (I’m vegan, so it’s all plant-based)
11 freeze-dried meals. Backpacker's Pantry pad thai is my favorite, with Kathmandu curry and other vegan options. One for dinner and another that I’d make in the morning and eat by noon each day…or 10 am, heh.
Dried soy curls pre-mixed with a custom fajita mix for delicious tacos night one. Pro tip: bring hot sauce.
Oatmeal. Two packets per morning
10 tortillas
A (plastic) jar of peanut butter and jam that I pre-mixed for trail burritos or for adding to oatmeal
2 bars per day. Picky Bars are my favorite. Pro Bars are a calorie-dense option as well.
Trail mix to eat/add to oatmeal and trail burritos
Pickles (carried sans juice in a plastic bag). Zero calories, heavy, and a divine gift from the gods at the top of a mountain pass. Totally worth it.
Olives (transferred to a plastic baggie). All part of my attempt to not ONLY have sweet treats. Great for adding to freeze-dried meals or eaten alone.
Gummies (Annie’s)
Dried fruit (pineapple, mango, dates)
2 chocolate bars
That's all I've got, folks. Drop a line in the comments or via email if you're heading out to bikepack the Chilcotins and need more information. Happy pedaling...err pushing!

